R.E.P.O
R.E.P.O. ULTIMATE GUIDE
v2.1.5 Complete Edition
Fighting Against Monsters
- Almost all enemies can be "avoided." The easiest way is to hide under tables, beds, chairs, etc., but most of them have the "ability" to check under furniture if they saw you hide there, so be careful. If you see them coming straight at you, try to move away a bit or switch locations.
- The second way is to use the weapons available in the store or some that you can find as loot (for example, the toy clown). When you kill an enemy, it will disappear from the level for a while before another copy of the same monster appears, so don't let your guard down.
Types of Monsters
Animal
- Attack Type & Behavior: Doesn't do much. When it sees a player, it gets scared and starts running in any direction, pushing players and nearby objects.
- Tips: The easiest option is to ignore it. If it spots a player, try to move the cart with the loot away, as it could damage it.
Apex predator
- Attack Type & Behavior: This little duck walks around the map until it finds a player. Once it spots one, it will start following them and try to get picked up. If it succeeds, it will transform, becoming aggressive and biting the nearest player. This transformation lasts for 10 seconds.
- Tips: When it "chooses" a player, they must avoid picking it up and instead pass objects over it, as jumping deals significant damage. You can't make it fall into a hole because it will simply move away from it (it's quite smart, that damn duck).
Banger
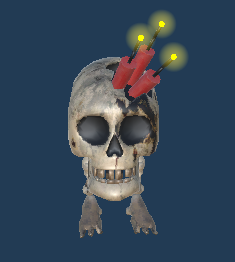
- Attack Type & Behavior: This walking skull always moves in groups of 3 to 8. When it gets close to a player, it will ignite its explosives and try to stay as close as possible to deal maximum damage.
- Tips: Since it's small, you can pick it up and throw it, dealing significant damage to it. You can also simply run away, and it will eventually explode on its own. Before detonating, it will start "screaming," which serves as a warning to move away or use it as a weapon against enemies.
Bowtie
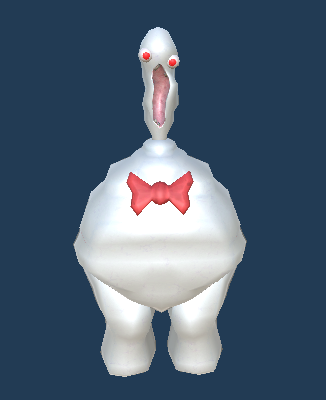
- Attack Type & Behavior: This enemy is quite slow but has a large field of vision. When it spots a player, it will attack by screaming, pushing the player and all objects within the scream’s range.
- Tips: Its scream can push all your objects, reducing their value or even breaking them. If you see it, try to hide or move your items out of its line of sight. When it traps you with its scream, you won’t be able to escape until it stops, so be careful if there are other enemies nearby or if you throw an explosive at it.
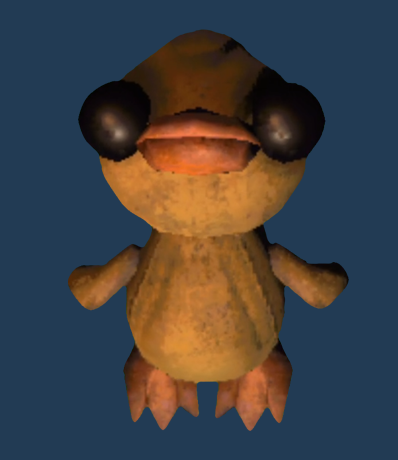
Chef
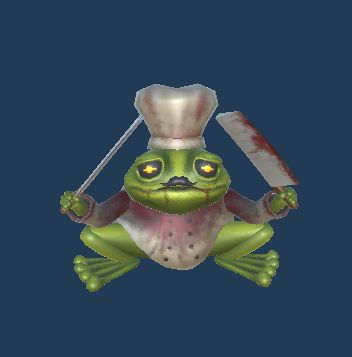
- Attack Type & Behavior: This Kermit-like frog hops slowly around the map until it finds a player. When it does, it pulls out two machetes and transforms into Yoda, jumping from side to side while slashing both players and objects.
- Tips: It can be seen from a long distance, making it easy to avoid. If it spots you, try to move away from the cart or any valuable objects, as it will likely destroy them. It always jumps in your direction, making it easy to dodge and giving you time to hide.
Clown
- Attack Type & Behavior: It wanders around the map until it finds players. If they are within its line of sight, it will laugh and shoot a beam from its antenna, damaging the player and destroying objects and doors. If you’re too close or if it catches you hiding, it will kick you, sending you flying.
- Tips: You can easily tell when it's nearby due to its loud laughter or heavy footsteps. If it attacks with its beam, try crouching, as it always shoots at body height. However, it can move its beam, so don’t let your guard down if it misses. Running away is always a good strategy since it’s quite slow.
Gnomo
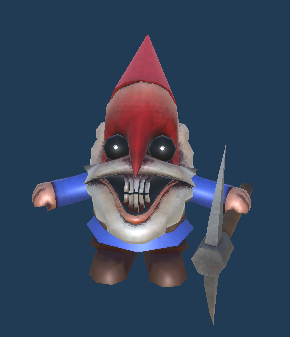
- Attack Type & Behavior: This little creature always moves in groups of 2 to 6. It prioritizes attacking the objects you are carrying in your hands and those in your cart. When attacking, it takes a few seconds before pulling out its weapon.
- Tips: It’s very easy to kill since it has low health. You just need to pick it up and drop it, or you can throw it far away to destroy it.
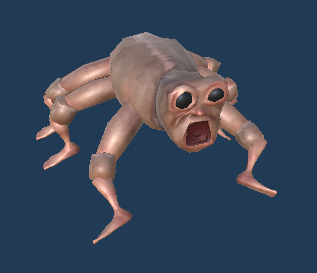
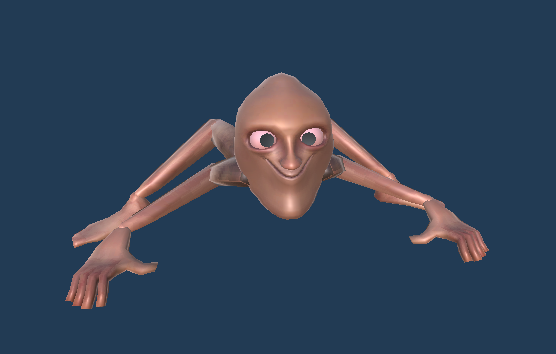
Headman
- Attack Type & Behavior: It floats around the level until it finds a player. When it spots one, it will scream and try to bite them until they die. If the player hides under a table, chair, etc., it will try to look underneath to bite them. If this enemy catches you, it’s almost certain death due to its high damage.
- Tips: Simply running away is enough to lose it. Another way is to turn a corner quickly and hide. If it tries to attack you while you're hiding, you can move away, and it won’t follow, as it stays for a while staring at the hiding spot.
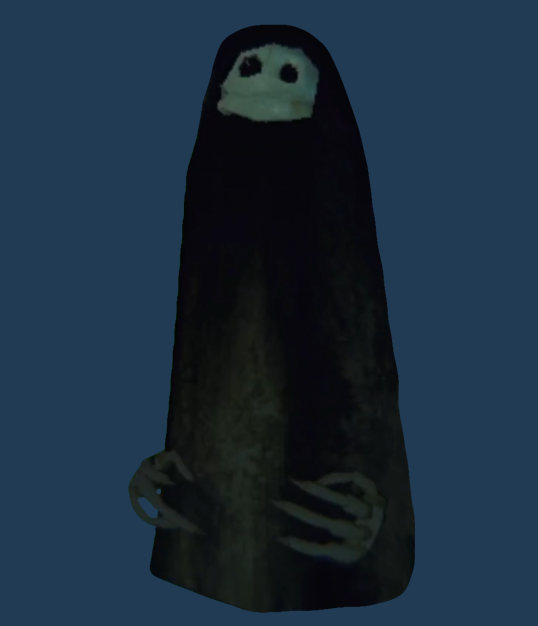
Hidden
- Attack Type & Behavior: This invisible monster is quite annoying. It focuses on grabbing players and carrying them to random locations on the map, prioritizing the ship or the farthest area from it. The only way to know if it's nearby is by listening to its breathing or watching for its footsteps. Its head is surrounded by black smoke, but it's quite hard to see. This enemy doesn’t deal damage and won’t drop you into a hole, though sometimes it might leave you near other monsters.
- Tips: There aren’t many strategies against this monster besides running if you hear it or being careful if you're carrying something, as it will make you drop it. If you have a weapon, you can try to kill it, which is fairly easy since it has low health (1 or 2 hits are enough).
Huntsman
- Attack Type & Behavior: The Hunter is a blind man carrying a shotgun/cane. He is the only enemy (for now) that uses the microphone against you, attacking when he hears a player talking, moving objects, jumping, walking, or using an item—essentially anything that makes noise.
- Tips: Since he's blind, he will fall down the stairs when trying to descend, taking damage and giving you a small window to hide (but be careful not to laugh). Other than that, your best option is to stay hidden and completely silent. If you're hiding but make any noise, he will still shoot in your direction.
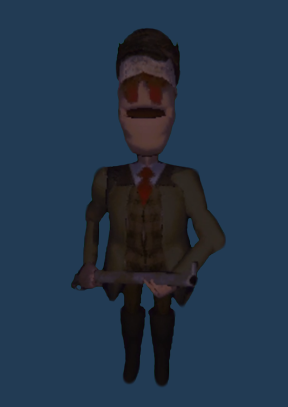
Mentalist
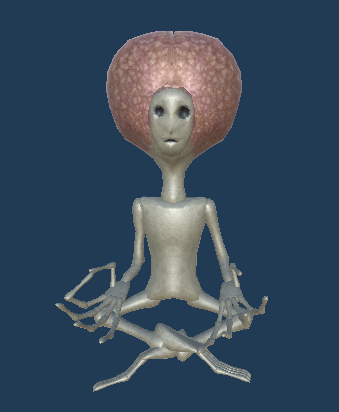
- Attack Type & Behavior: Its attack is simple—if it sees you, it will shoot an energy orb that lifts you and all nearby objects into the air. After a short time, it will release everything, causing fall damage. It can also teleport anywhere on the map after attacking players.
- Tips: If it traps a player, teammates outside the gravitational field can pull them out to prevent damage. Additionally, if you have a weapon, you can hit it while it's levitating others, as it remains "meditating" during its attack.
Peeper
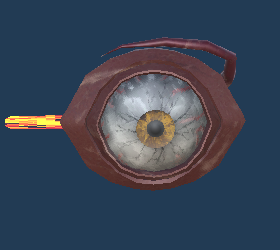
- Attack Type & Behavior: The Eye of Sauron is always on the ceiling. If you enter its field of vision, it will force you to look at it, and after a few seconds, it will start dealing damage. If the targeted player dies or moves out of range, it will teleport to another room.
- Tips: If it locks onto you, all you need to do is move away or switch rooms. A trick is to make yourself small using the Q key and have a teammate move you.
Types of Monsters 2
Reaper

- Attack Type & Behavior: This "scarecrow" walks slowly around the map, but if it spots a player, it will start running while swinging its blades. It can easily kill you if you enter its attack range, as it won’t stop attacking until it loses sight of its target. It can also attack if it catches you hiding.
- Tips: Escaping this enemy is tricky due to its speed. The best strategy is to lose it around a corner and hide quickly. Be careful if it attacks near your items, as it will destroy them fast.
Robe
- Attack Type & Behavior: This ghost moves quickly around the map searching for players, emitting a sound similar to the Headman. If it spots a player, it will follow them slowly and almost silently until it catches them. However, if the player notices it, it will scream and start running rapidly to capture them. Additionally, Robe can check under hiding spots if it saw a player hide.
- Tips: The best strategy is to run and try to hide. Losing it around a corner can be effective, but remember that it becomes faster if you’ve seen it following you, so be careful. If it tries to catch you in your hiding spot, you can try leaving or moving slightly away from corners.
Rugrat
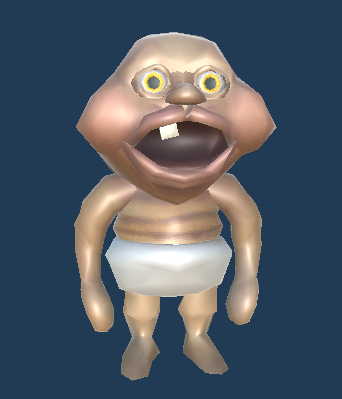
- Attack Type & Behavior: Its attack is simple yet annoying—it grabs one of your objects and throws it at you, dealing damage to both you and the object. It won’t stop attacking until you leave its line of sight or it runs out of objects to throw. It makes a sound similar to a baby when preparing to attack (be careful, it has good aim).
- Tips: If you don’t have a weapon, the best option is to move away. You can also hit it with an object from your cart—one hit is enough to make it leave you alone for a while. Another way to damage it is by picking it up, but this requires a strength stat of at least 3.
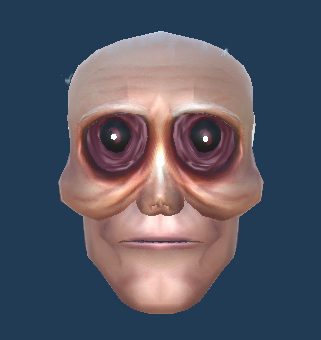
Shadow child
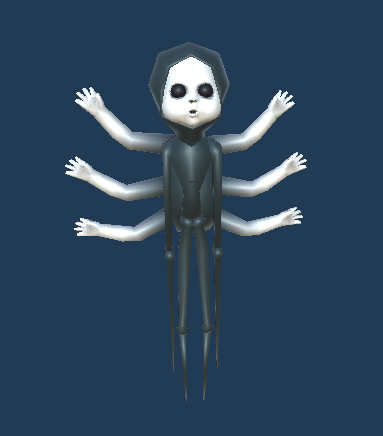
- Attack Type & Behavior: It teleports around the level searching for players, making childlike noises when nearby. Its attack is simple—it positions itself in your line of sight, and if you look at it for 2 to 3 seconds, it will deal damage. If it fails to harm a player, it will teleport to another room.
- Tips: The only way to avoid it is by not looking at it for a while. If it blocks a doorway you need to pass through, just look away while walking, as it doesn’t deal contact damage.
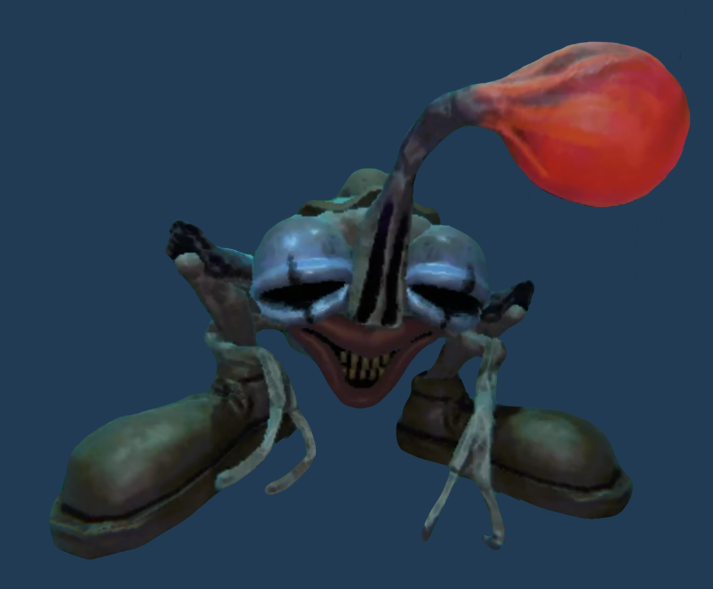
Spewer
- Attack Type & Behavior: It flies around the map searching for players. Once it finds one, it will try to "stick" to them, causing them to vomit occasionally and altering their voice. The vomit can damage players, objects, and even enemies. After some time, the Spewer will get bored and leave the players alone for a while. This is one of the few monsters that can see you even if you're hiding.
- Tips: It's easy to see and hear when it's nearby. If you don’t want it to catch you, just run, as it gets tired quickly. If it does latch onto you, avoid looking at your teammates or objects, as you could damage them with the vomit.
Trudge
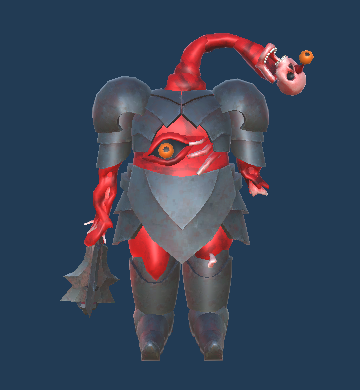
- Attack Type & Behavior: This monster is slow, loud, and very dangerous. It roams the map dragging its hammer, and if it sees a player, it will slam the ground, pulling players and objects toward it before triggering an explosion that can kill them. It can also check under hiding spots, but since it’s very slow, it’s easy to escape before it attacks.
- Tips: As mentioned above, it’s extremely slow, which you can use to your advantage. If it spots you, it makes a noise before slamming the ground, giving you a warning in case it catches you off guard.
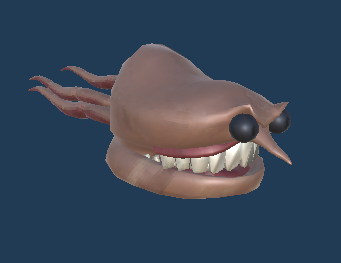
Upscream
- Attack Type & Behavior: This is one of the most annoying monsters. If it catches you, it will scream and throw you far away. It’s very aggressive, so the moment it sees you, it will immediately attack. If it traps you in a room, there’s a high chance it will keep screaming at you repeatedly, locking you in a loop.
- Tips: If you don’t have a weapon, there’s not much you can do besides running and hiding. If you spot one nearby, try to stay away from holes, as it always aims to throw you toward them.
Store Weapons
- The best of the best when it comes to escaping a monster—if you can kill it.
- One important thing to note is that both melee and ranged weapons use energy, which can be recharged in the ship, but only if energy crystals have been purchased beforehand. There is always one available in the ship/truck/base, but it's best to buy 3 or 4.
- There’s not much else to say in this section, so I’ll just share my opinion on the weapons.
Inflatable hammer

- The worst weapon of all. It barely does any damage.I wouldn’t take it even for free.
Baeball bat

- It's pretty fast, but its damage is low.
- It moves at a high speed, allowing it to strike swiftly and efficiently. However, despite its impressive agility, its overall damage output remains relatively low, making it less effective in situations that require high burst damage or sustained attacks.
Frying pan
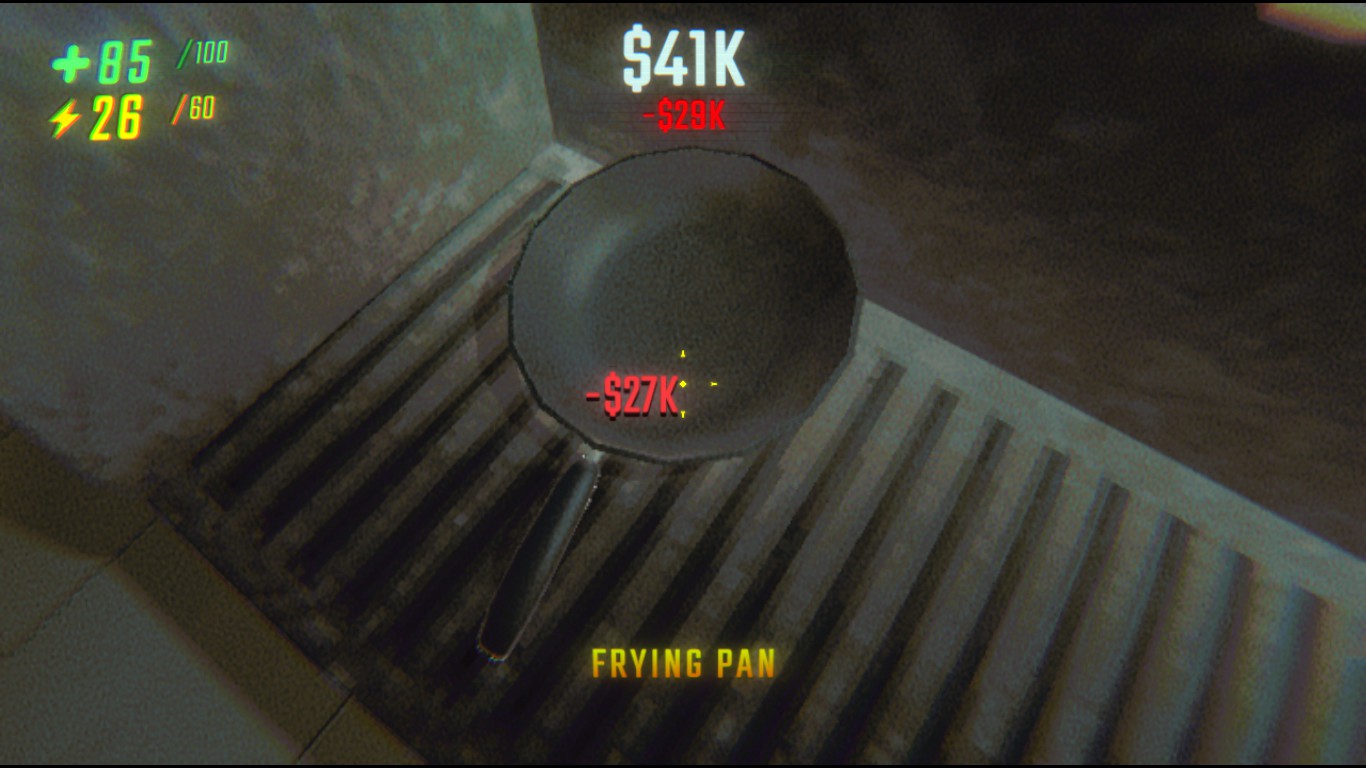
- It has medium speed and makes a pretty funny sound. It deals moderate damage but struggles to take down large monsters.
Sword

- One of the best melee weapons: Fast and deals decent damage. If combined with the tranquilizer weapon, it becomes a very useful option against large monsters.
Sledge Hammer
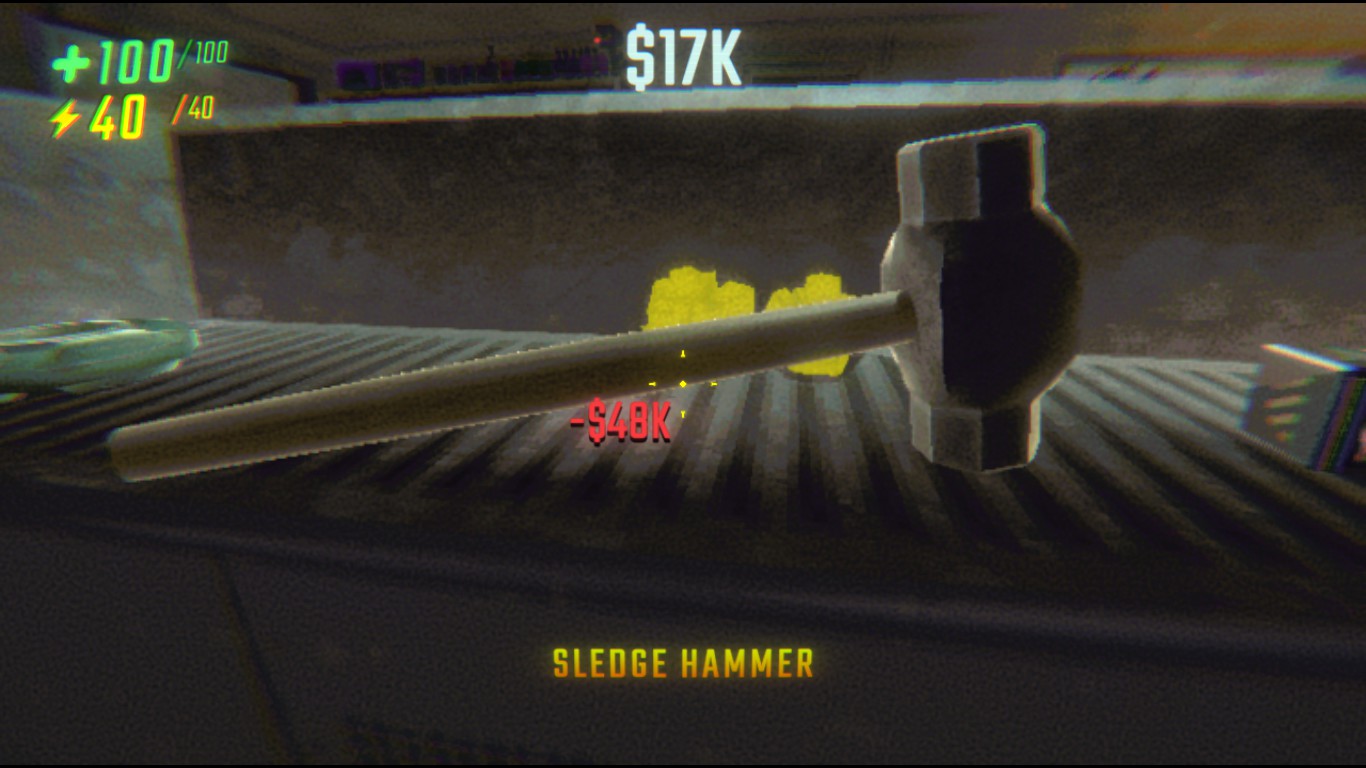
- The best melee weapon: Slow but highly effective. It deals a lot of damage and can push monsters away.
Explosives & Ranged Weapons
Grenade
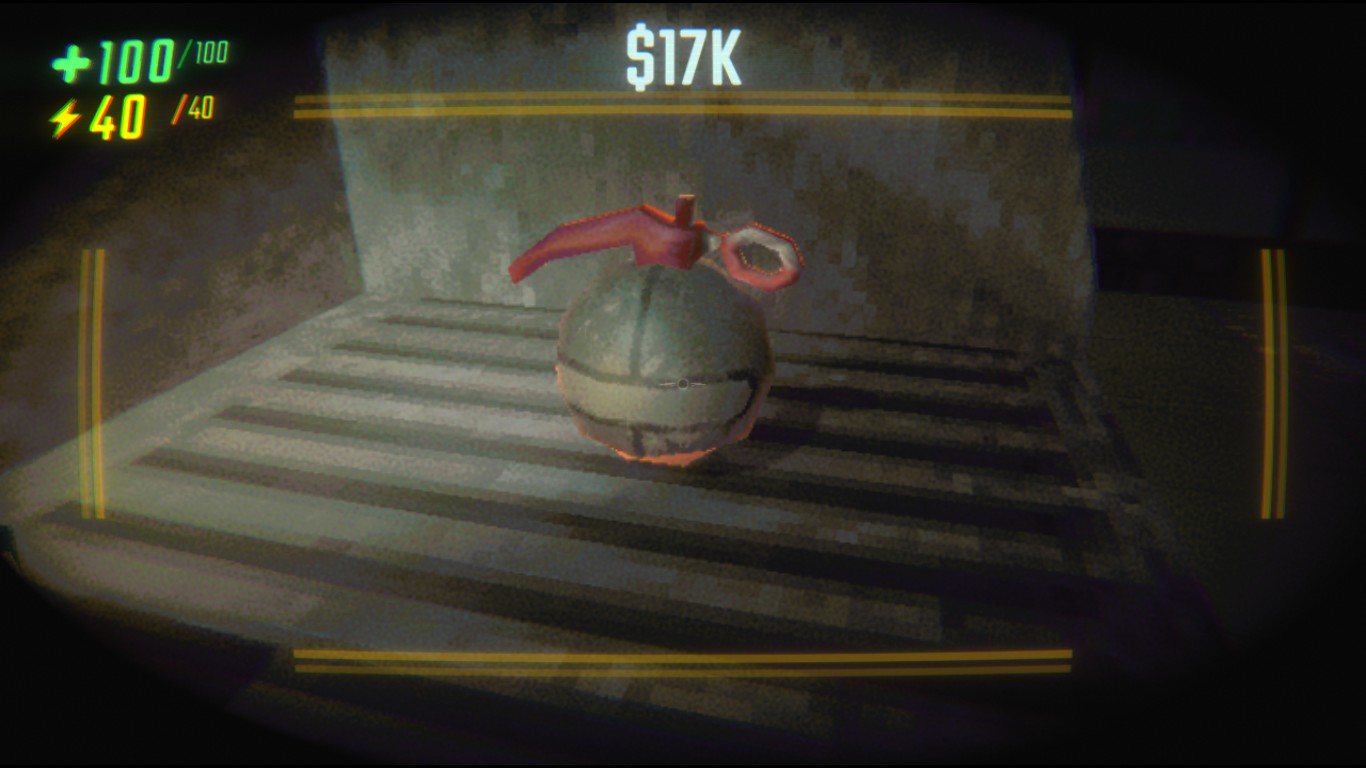
- The grenade is one of the best explosives in the game, but if used incorrectly, it can easily kill you or your teammates.
- With two bombs, you can easily take down a large monster.
Explosive mine
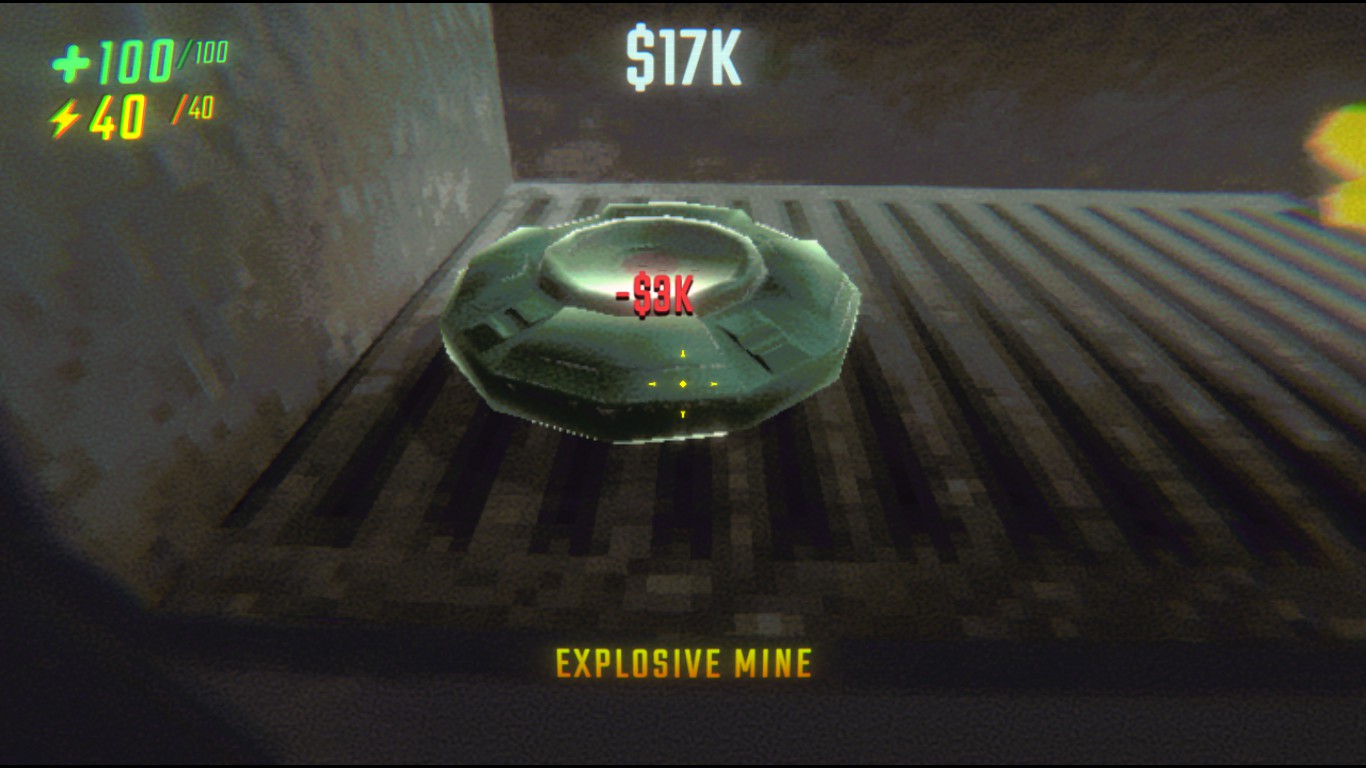
- Very good and useful if you don’t want to get close to the enemy.
- Like grenades, you’ll need two to kill a large monster.
Stun mine
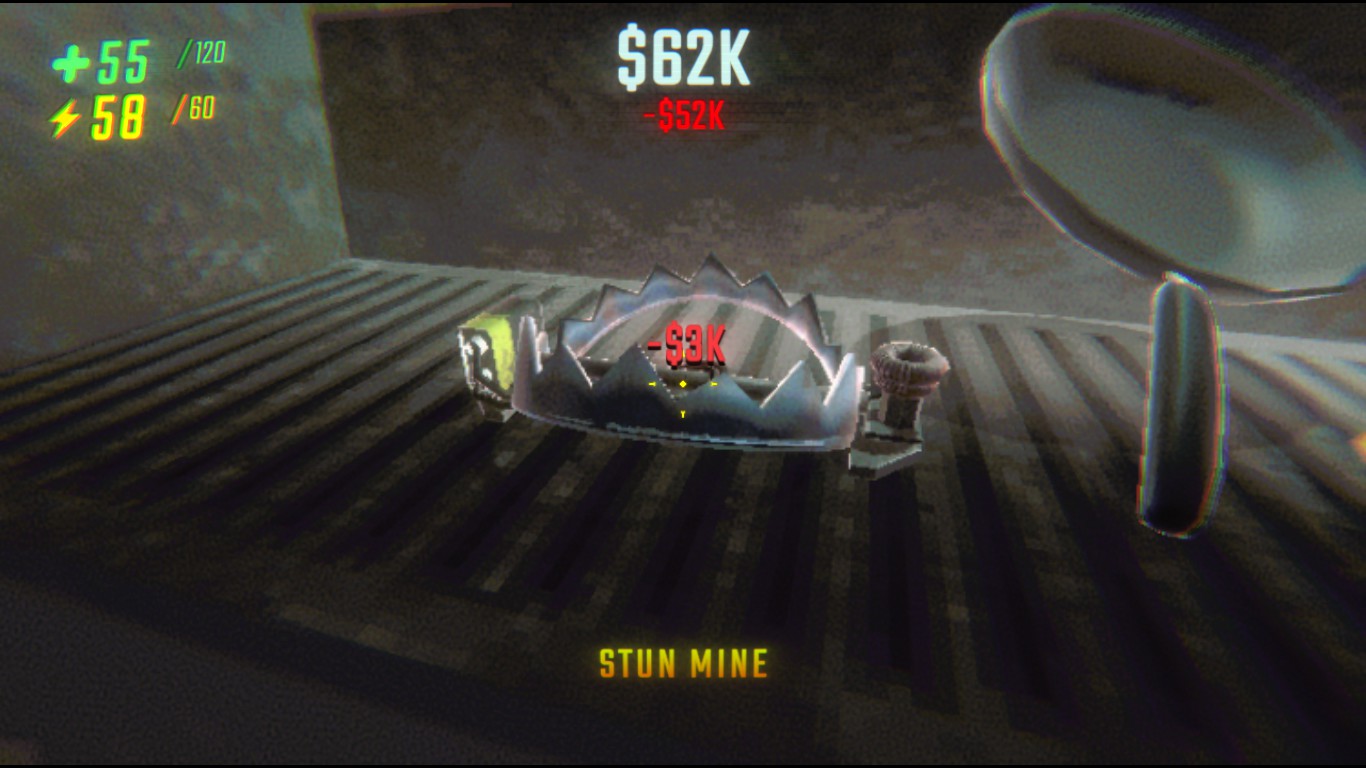
- This mine balances damage and utility. It can trap monsters and electrocute them for a while, making it perfect to follow up with another weapon for a finisher (watch your step!).
- Doesn’t work on flying enemies (obviously).
Stun grenade
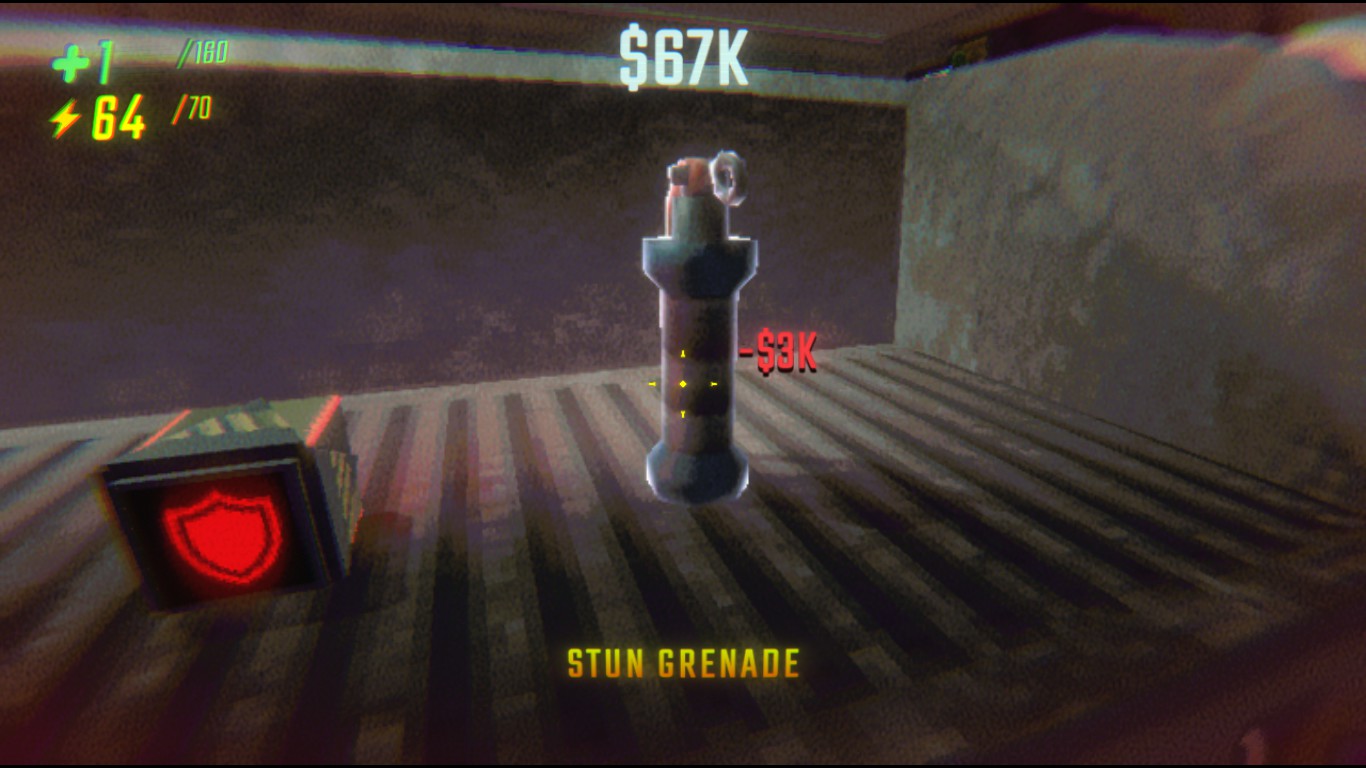
- The typical flashbang. When it explodes, it stuns enemies, making it useful for escaping or combining with other weapons.
- Does not deal damage.
Shockwave grenade
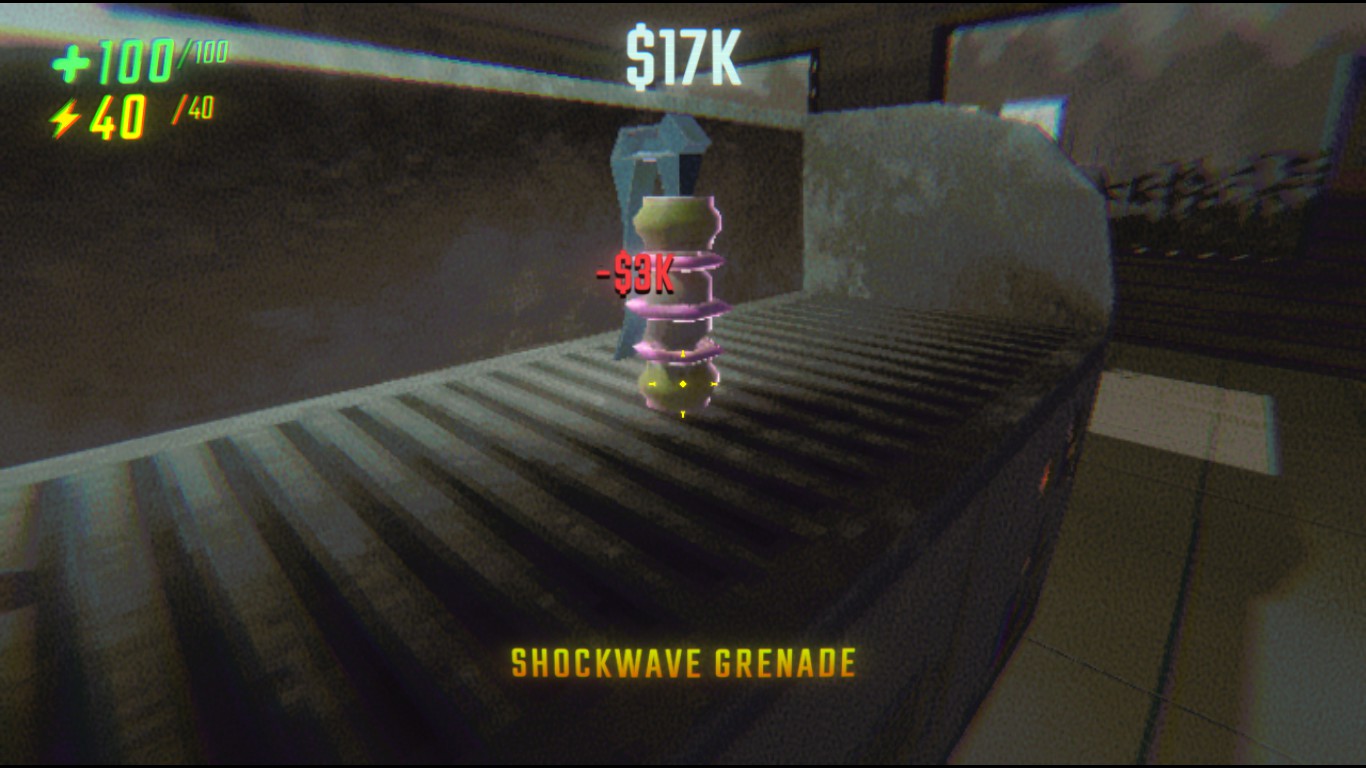
- As the name suggests, it generates a shockwave that pushes enemies, causing fall damage and stunning them for a short time.
- It can push you and your objects, so be careful.
- Enemies don’t take much fall damage, so don’t rely on it for damage unless you’re trying to knock them into a hole.
Shockwave mine

- Same utility as the grenade, not much else to explain.
Gun
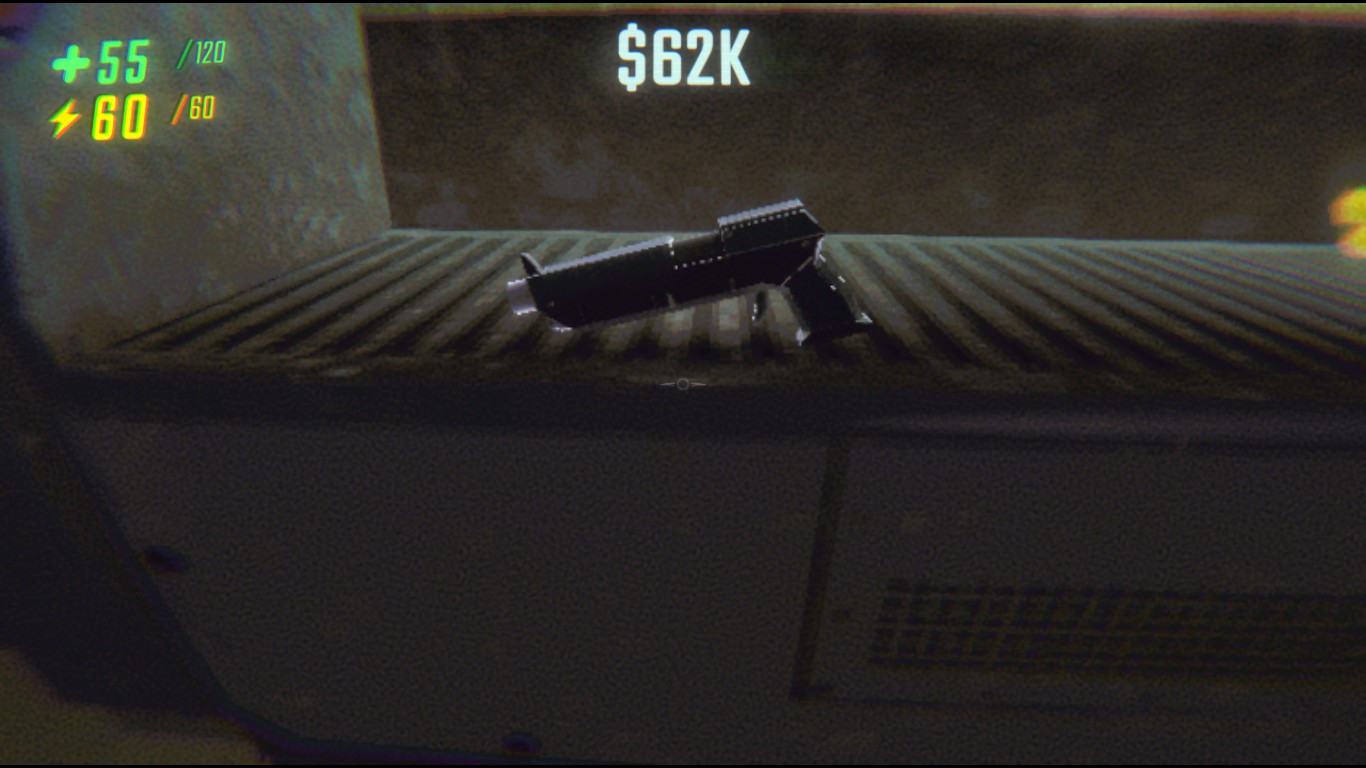
- Very good at long range, but aiming takes some practice.
- Kills almost all enemies in two shots and can fire six bullets before needing to reload.
Shotgun
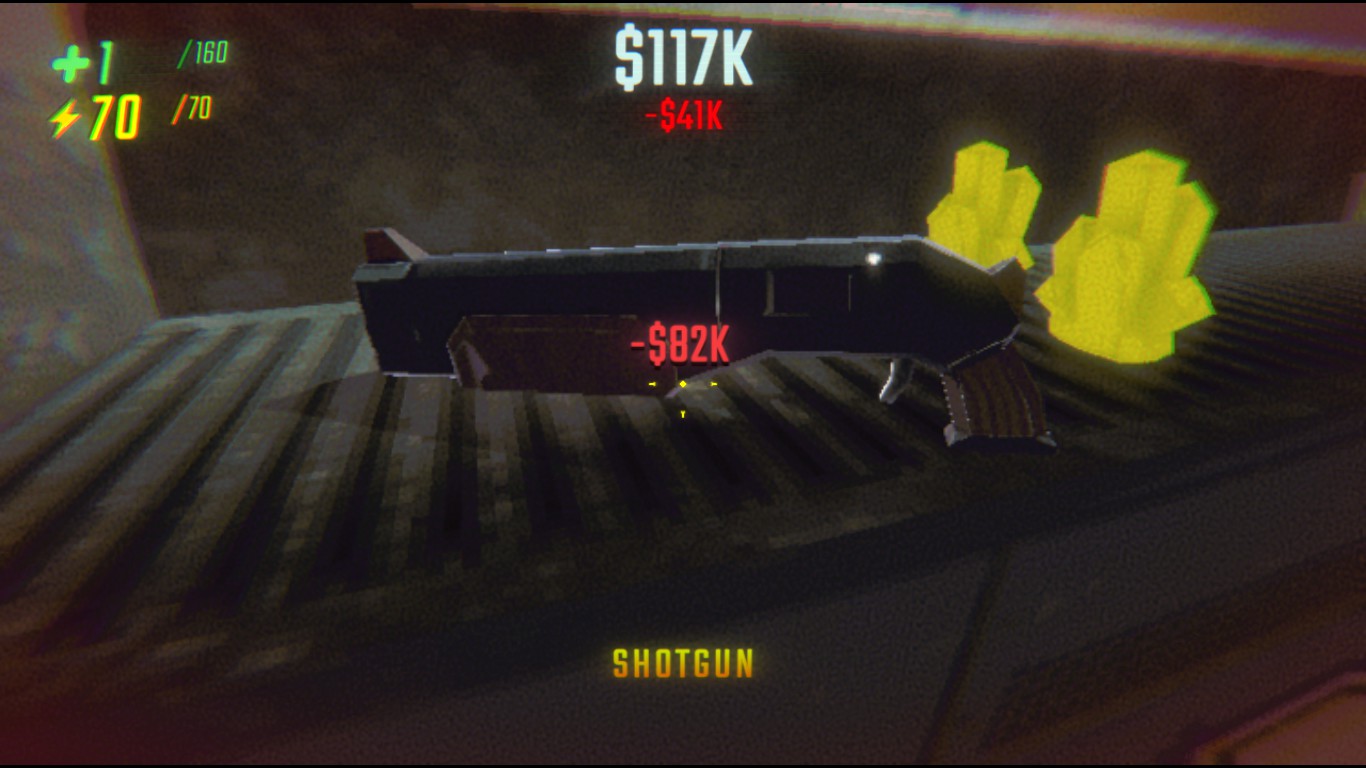
- The best ranged weapon in the game (even though it doesn’t have much range). It can easily kill large monsters in one shot.
- The best ranged weapon in the game (even though it doesn’t have much range). It can easily kill large monsters in one shot.
Tranq gun
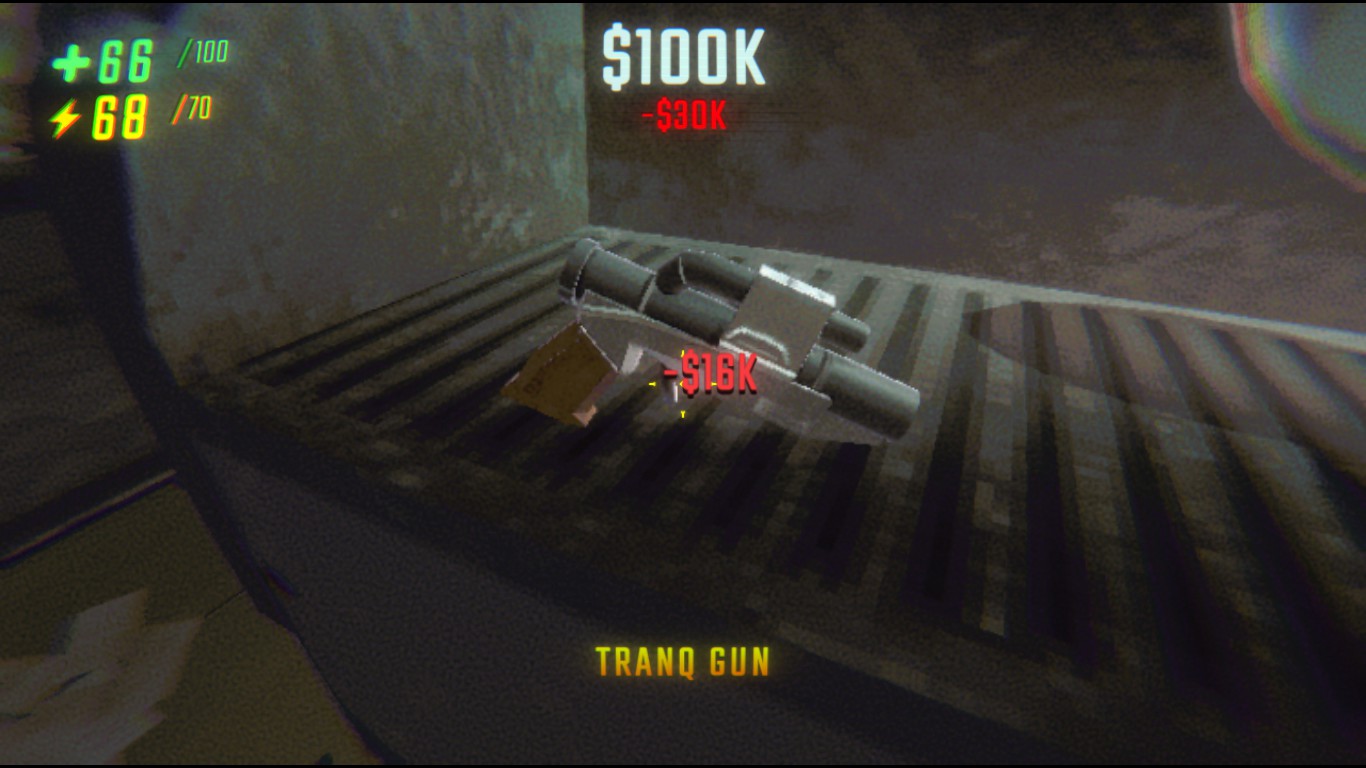
- Your best friend if you don’t have other ranged weapons. As the name suggests, it tranquilizes enemies for a long time, giving you the chance to throw them into a hole or use your favorite melee weapon (don’t use the inflatable hammer).
- For some reason, it makes heavier monsters lighter, so use that to your advantage and try to throw them.
Rubber duck
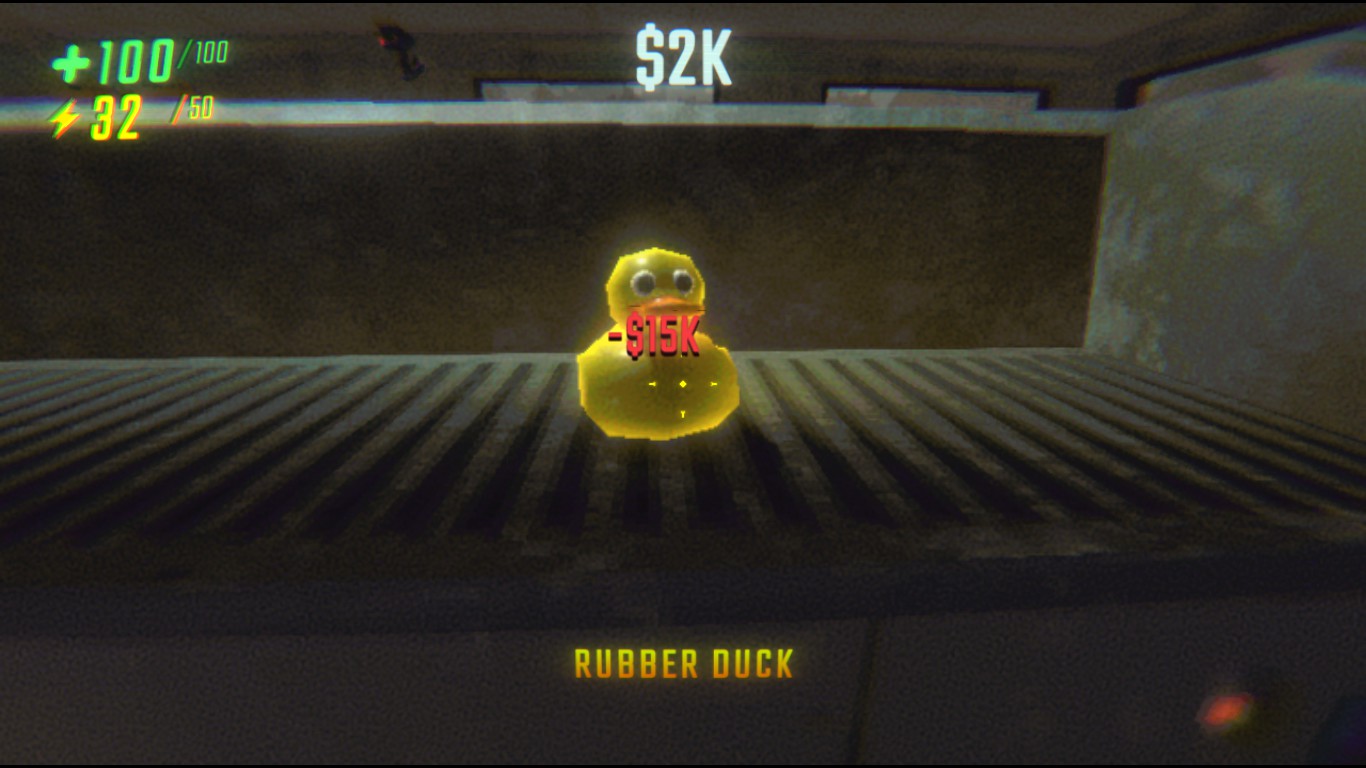
- The toy duck is a rather rare and difficult weapon to control, as it starts bouncing around when thrown, creating small explosions. I see it more as a "funny" weapon rather than a practical one.
Free Weapons
- These "weapons" are loot you can find throughout the map. They can help if you want to take down a monster, although some are better sold than used as weapons.
Toy Clown
- If you press its nose three times, a countdown starts before it explodes, dealing the same damage as a grenade. This is the most useful of these weapons since it doesn’t sell for much money. However, it takes a while to detonate, so monsters can easily move away from it.
Circular saw
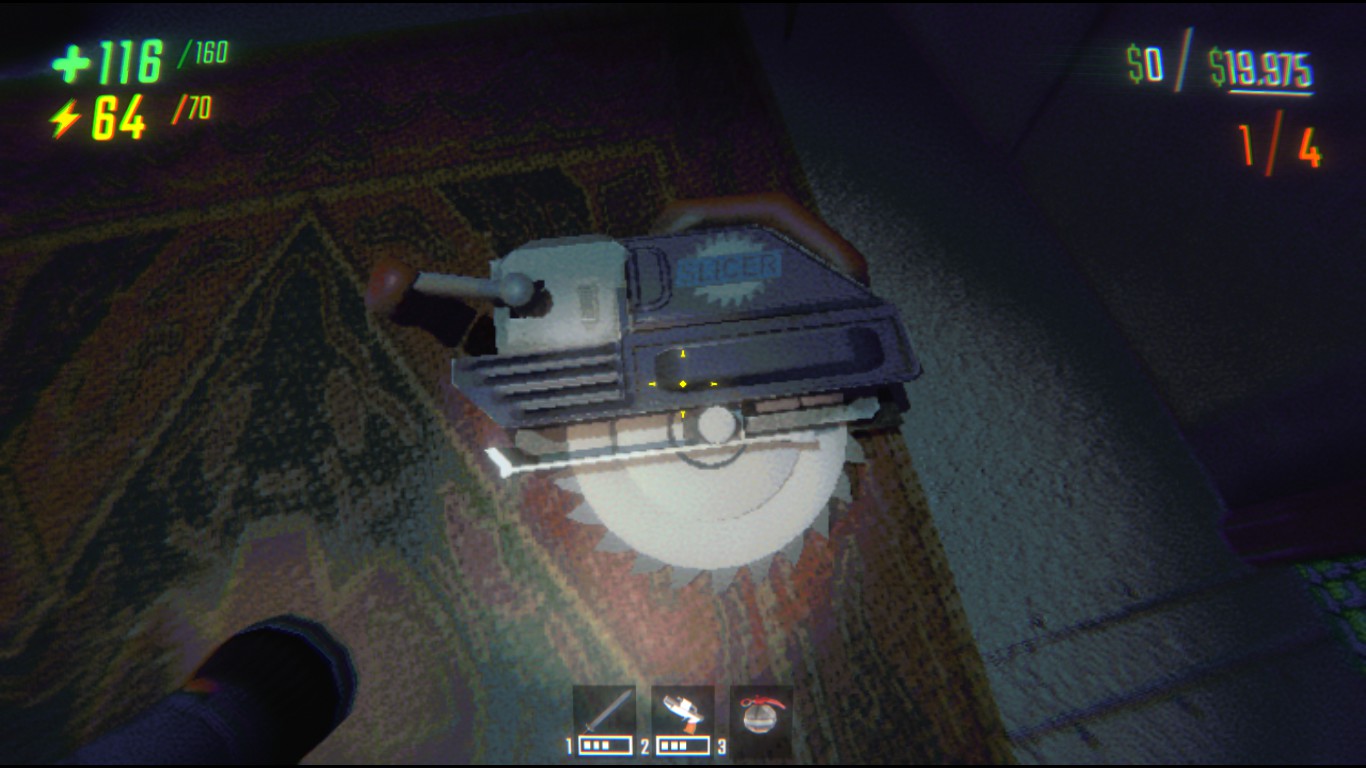
- As a weapon, it's quite difficult to use, but it can deal consistent damage. Sometimes, it stays active even after being dropped, so be careful.
Flamethrower
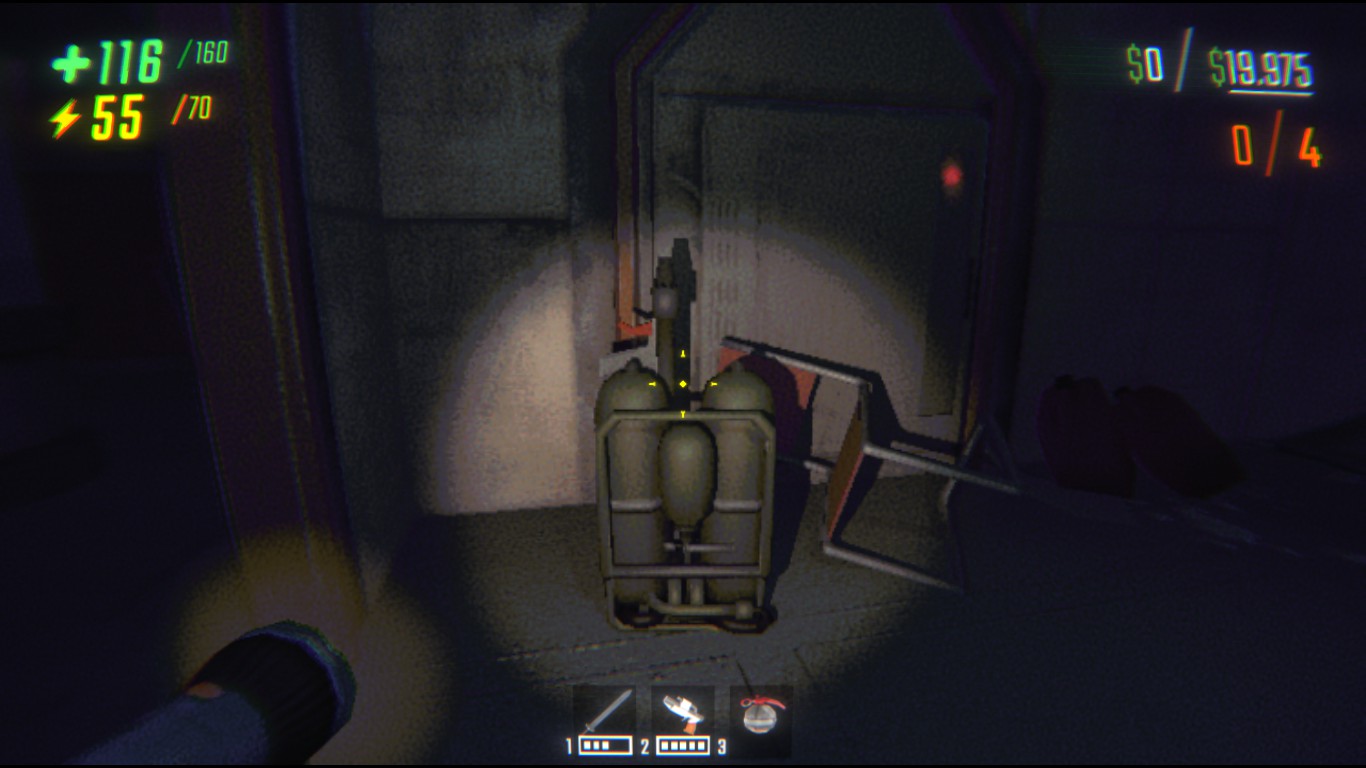
- It has decent damage and range, but aiming is tricky since you have to move the entire flamethrower. To fire, just hold the red button.
- This weapon activates when it takes damage, so handle it carefully.
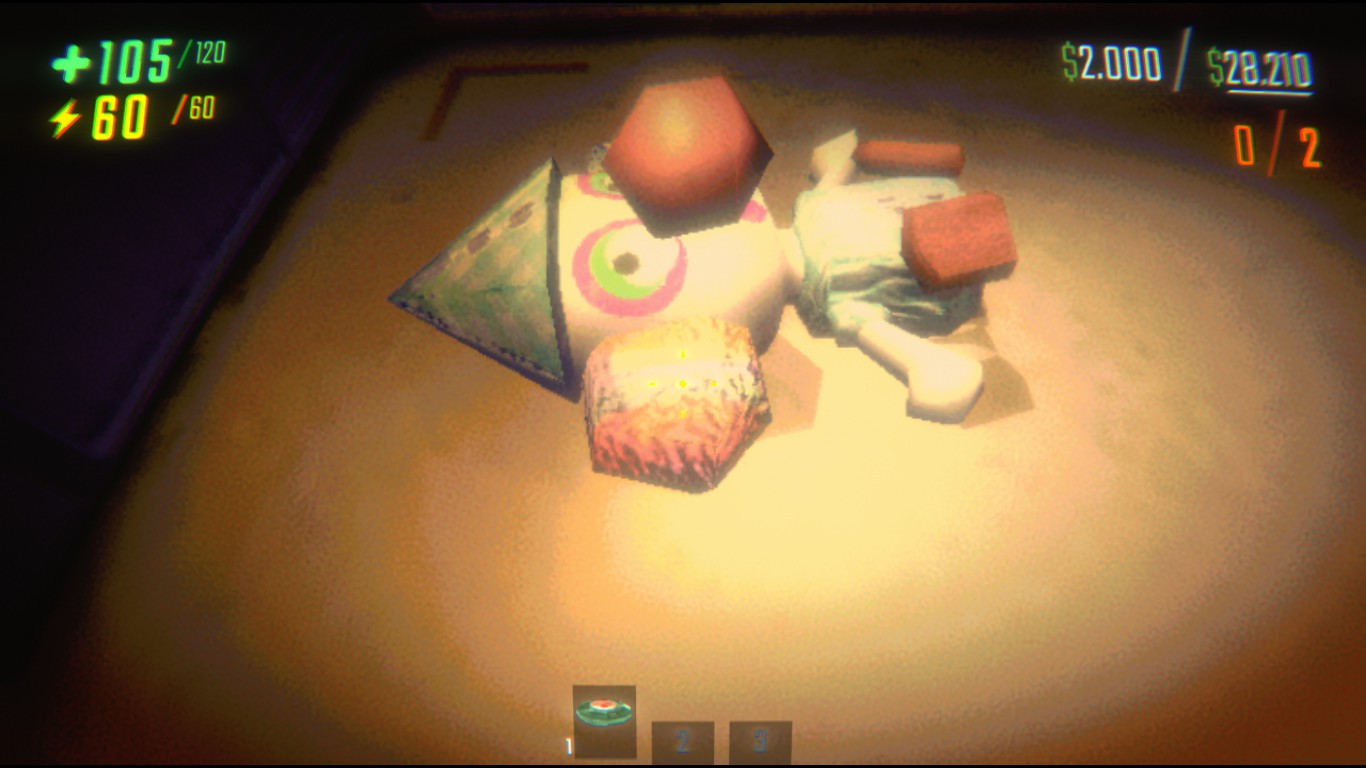
Magic Staff
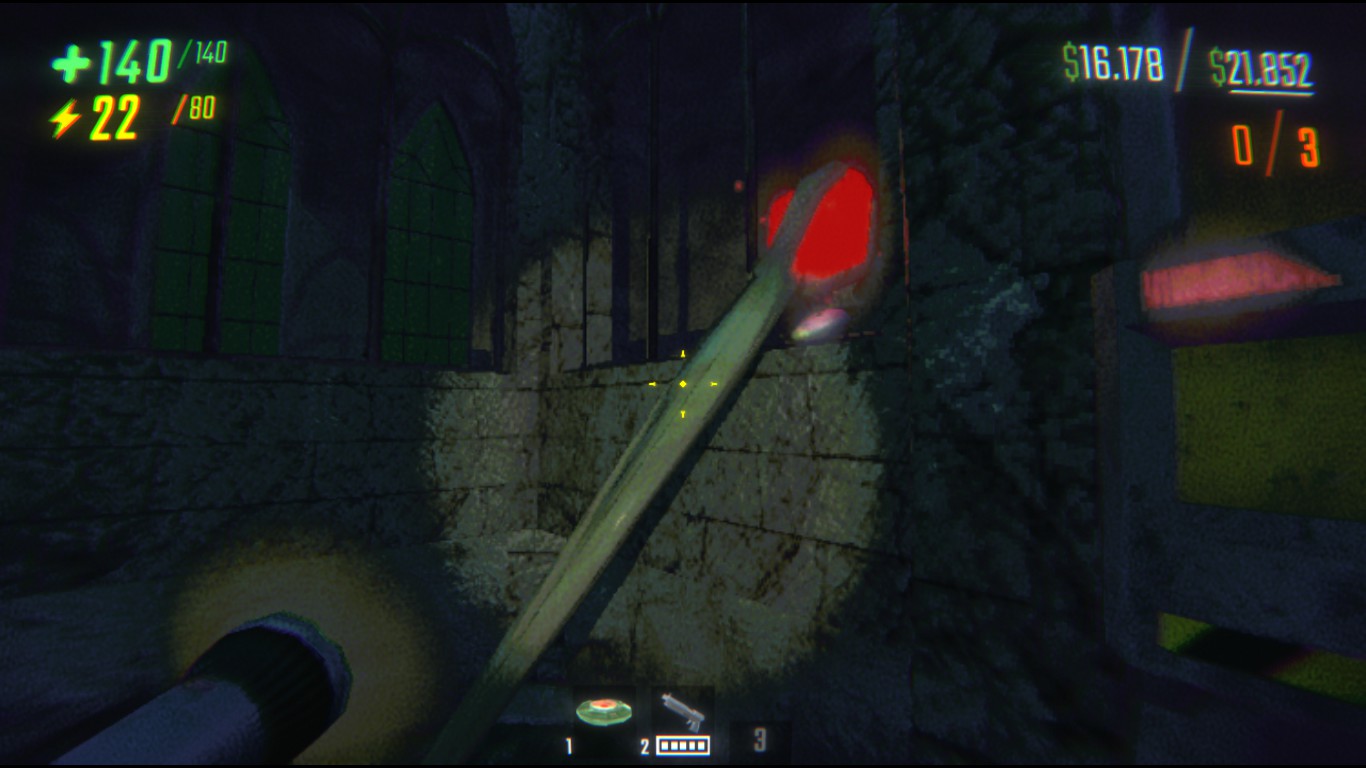
- This object has the same attack as the Clown. If it hits a surface, it fires an energy beam that deals significant damage, affecting teammates, objects, and monsters alike. It’s very difficult to use.
Shop
- After each level, you are automatically sent to the shop, where you can spend money on upgrades for your character, weapons, drones, carts, and more.
- The shop's inventory is mostly random, except for medkits, upgrades, and energy crystals, which are always available. Everything else varies with each visit.
- If you lose your items during a level, they will automatically return to your ship/truck after completing the level (but only if you finish it).
Energy Crystal
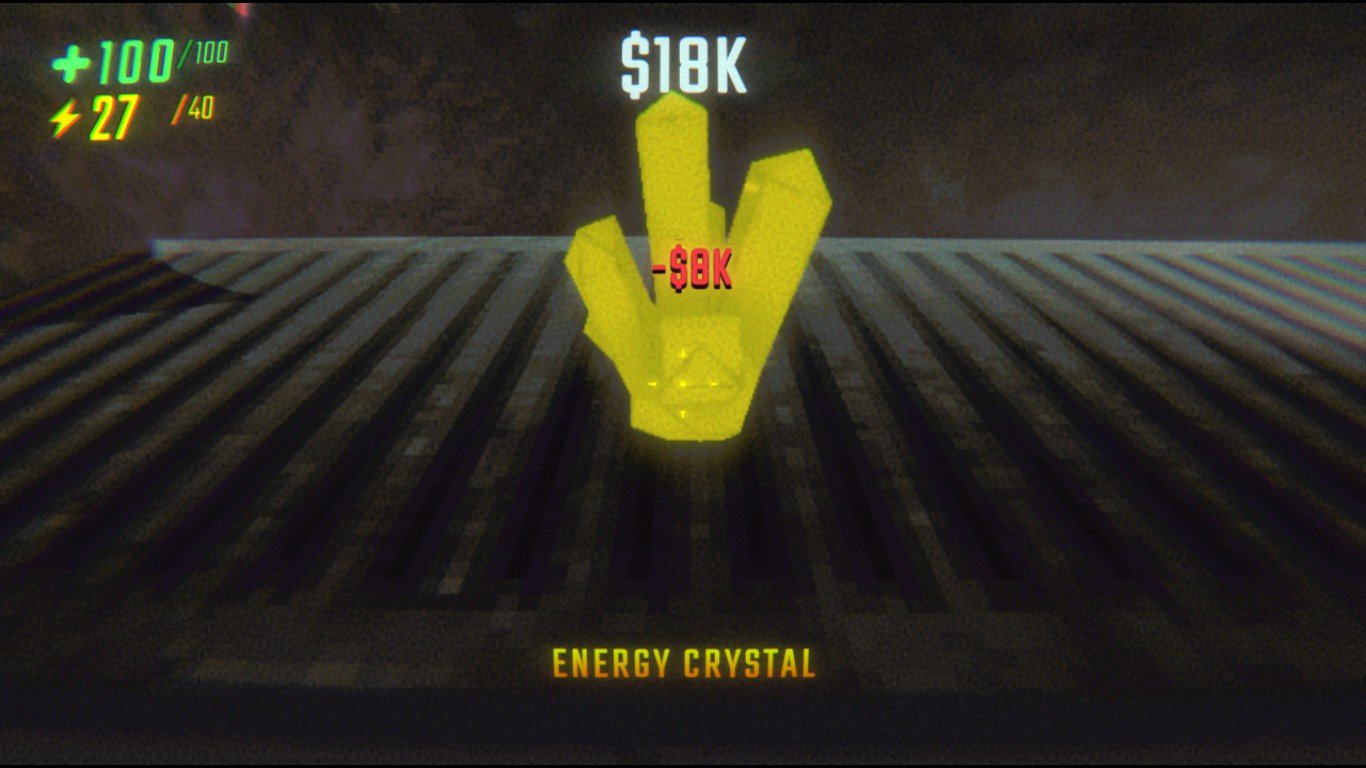
- The most important purchase if you use any weapon or drone is an energy crystal, as it fully recharges any item.
- Crystals break once they run out of energy.
- Even if you don’t buy one, your ship/truck will always have a default crystal.
Drones
- Each drone has a different function and is distinguished by its color and icon. Like weapons, drones consume energy and take up space in your inventory.
Recharge drone
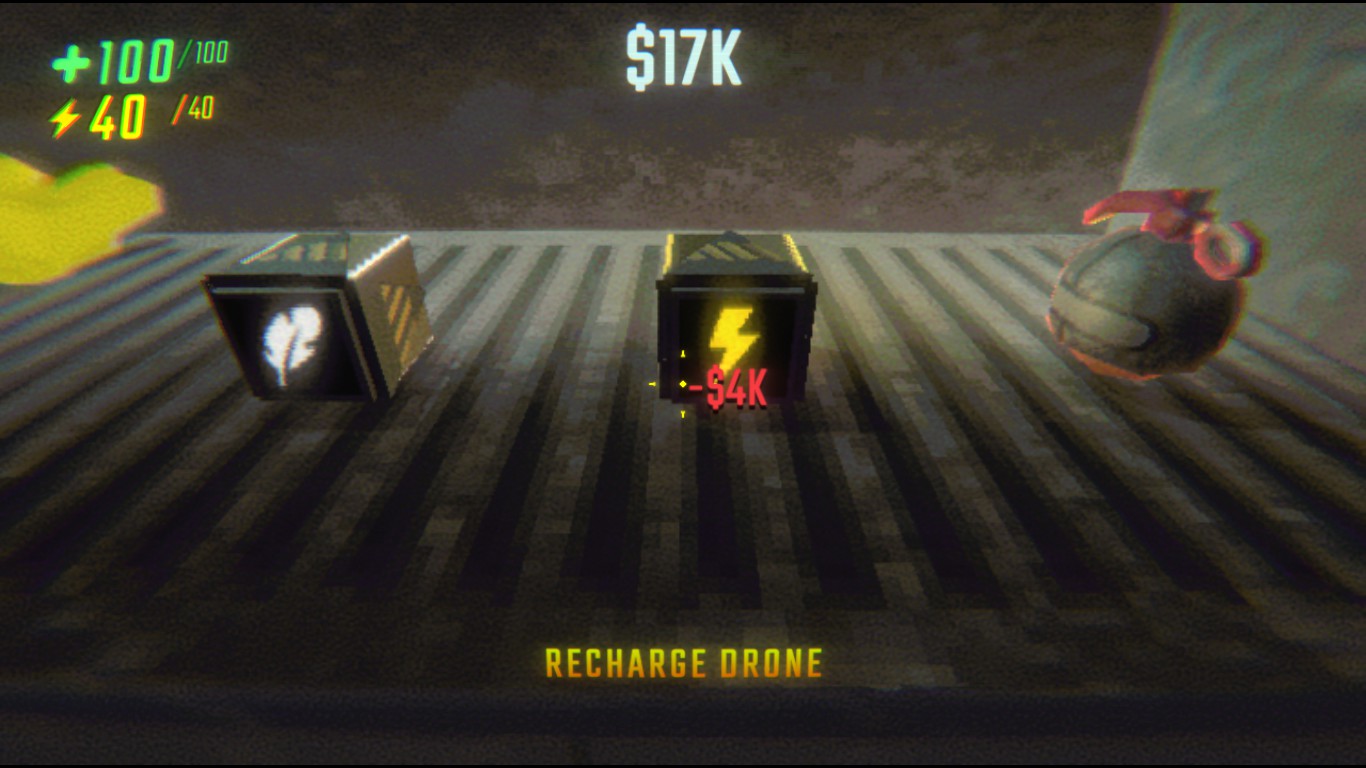
- Works like an energy crystal and restores the same amount of energy.
- Very useful if you don’t want to go back to your ship/truck every time you run out of energy for a weapon.
Indestructible drone
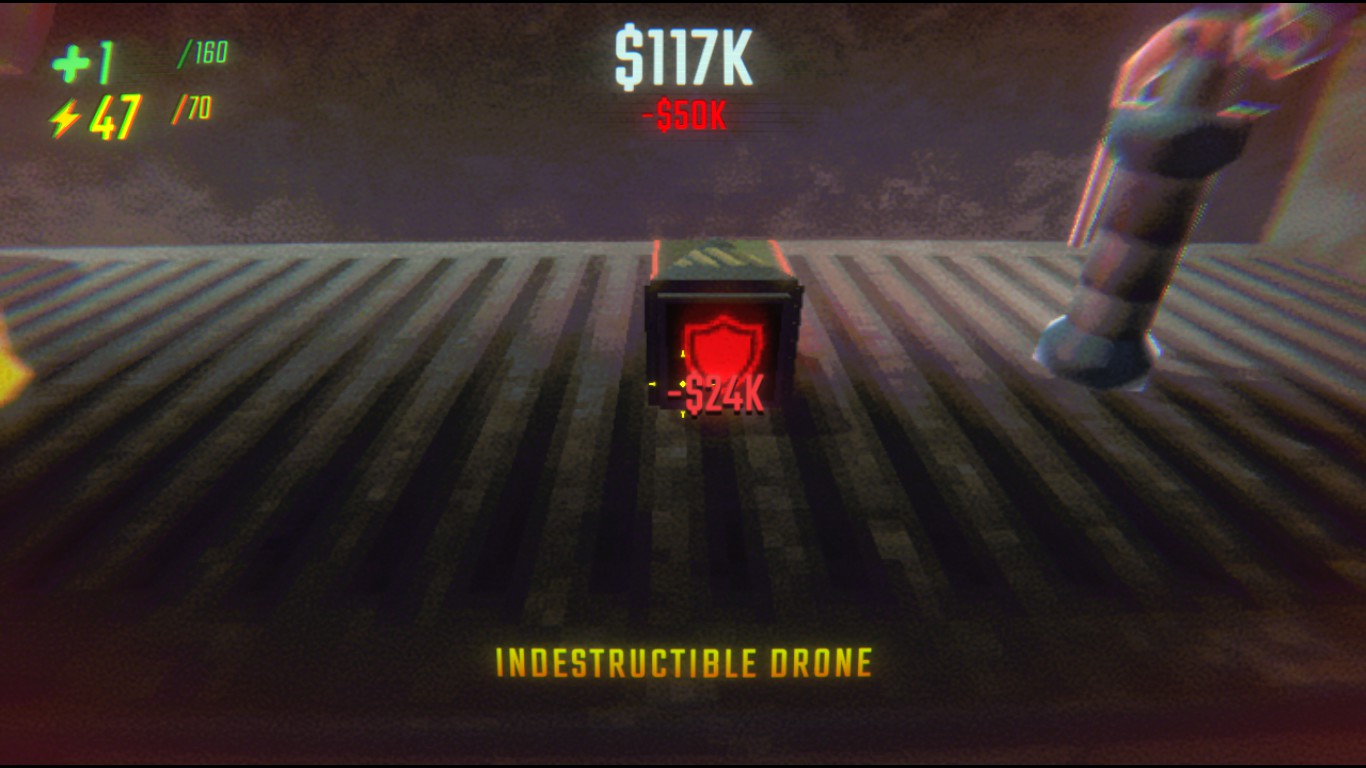
- Makes connected objects unbreakable. Extremely useful when carrying that damn vase that shatters at the slightest touch.
Feather drone
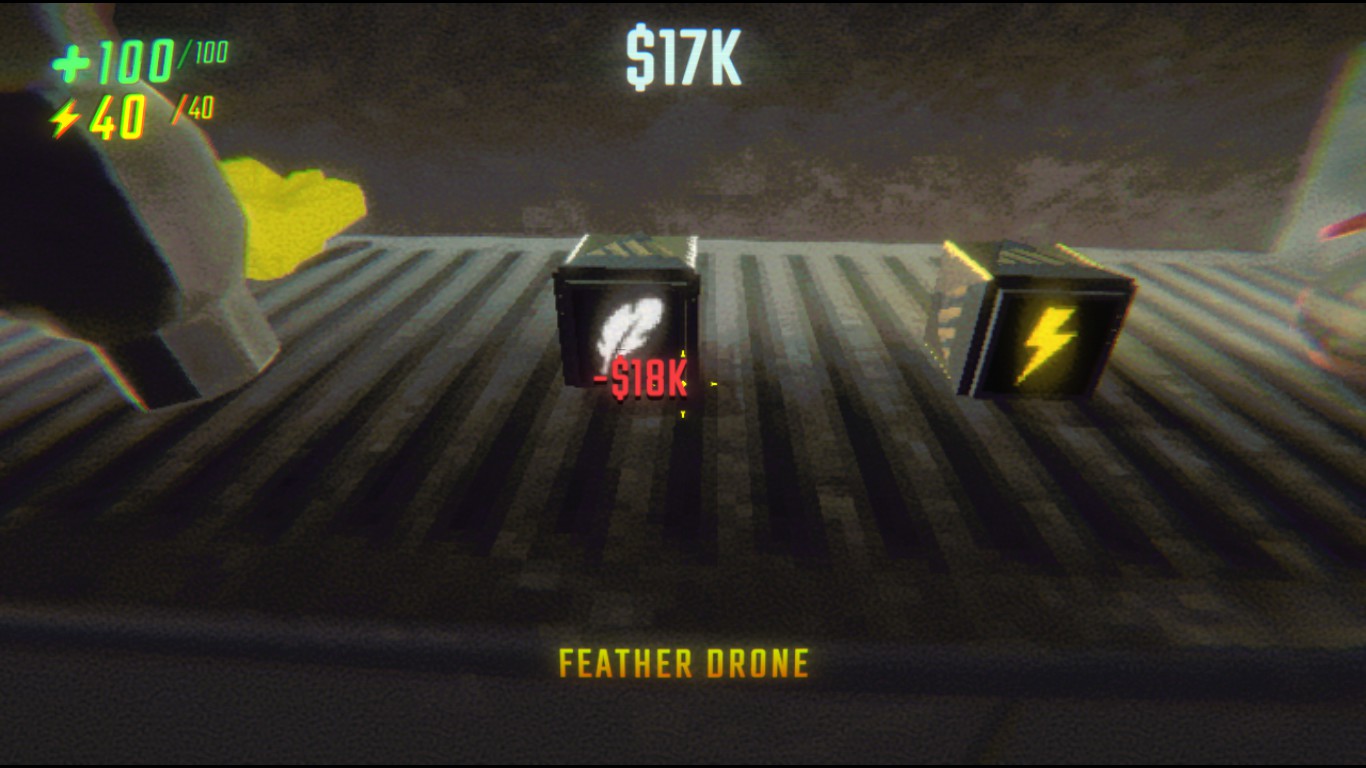
- My personal favorite. Makes heavy objects light, so you can carry a whole piano by yourself.
- Be careful sometimes it acts up and moves objects unpredictably.
- Can also connect to a player, giving them a “feather fall” effect and a higher jump.
Zero gravity drone
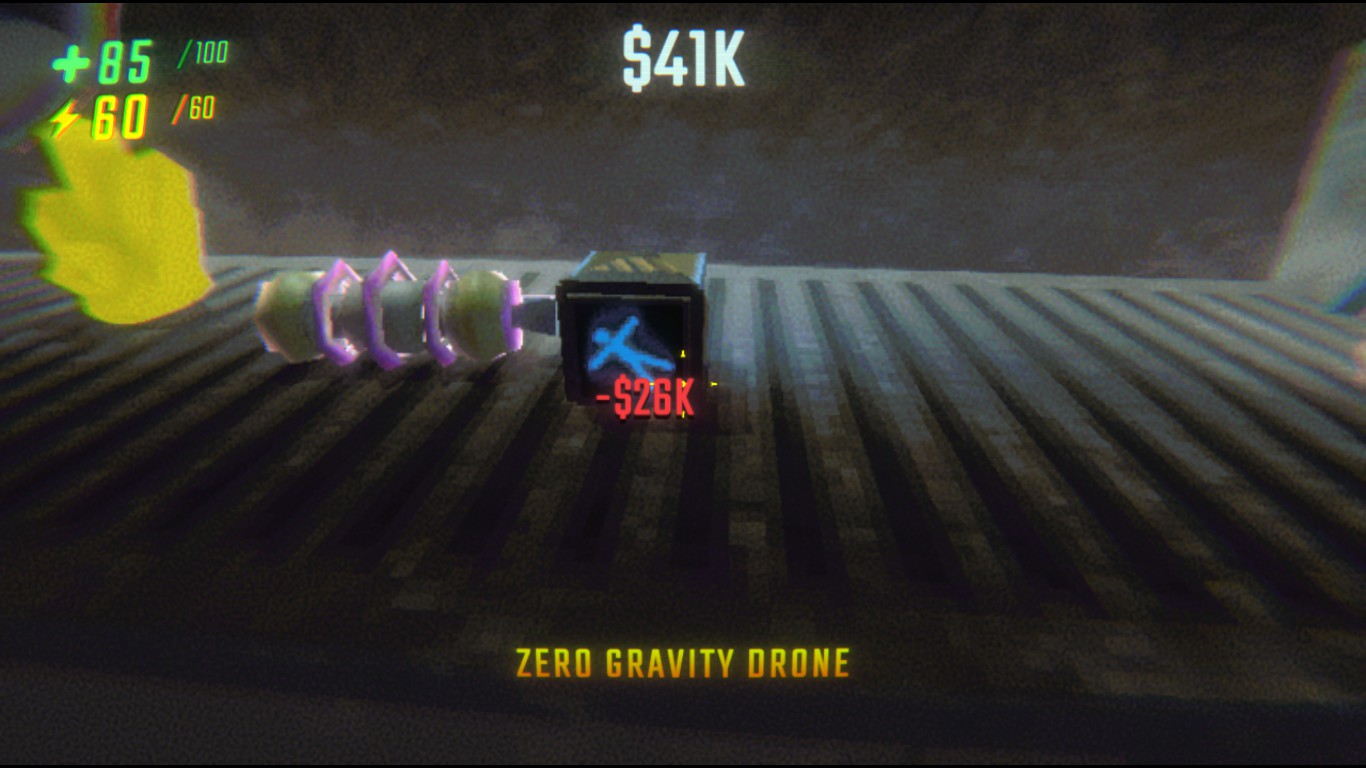
- Reduces gravity for connected objects or players.
- Helps lift heavy objects and makes players jump higher (though not as much as the Feather Drone).
- Slows fall speed.
Zero gravity orb
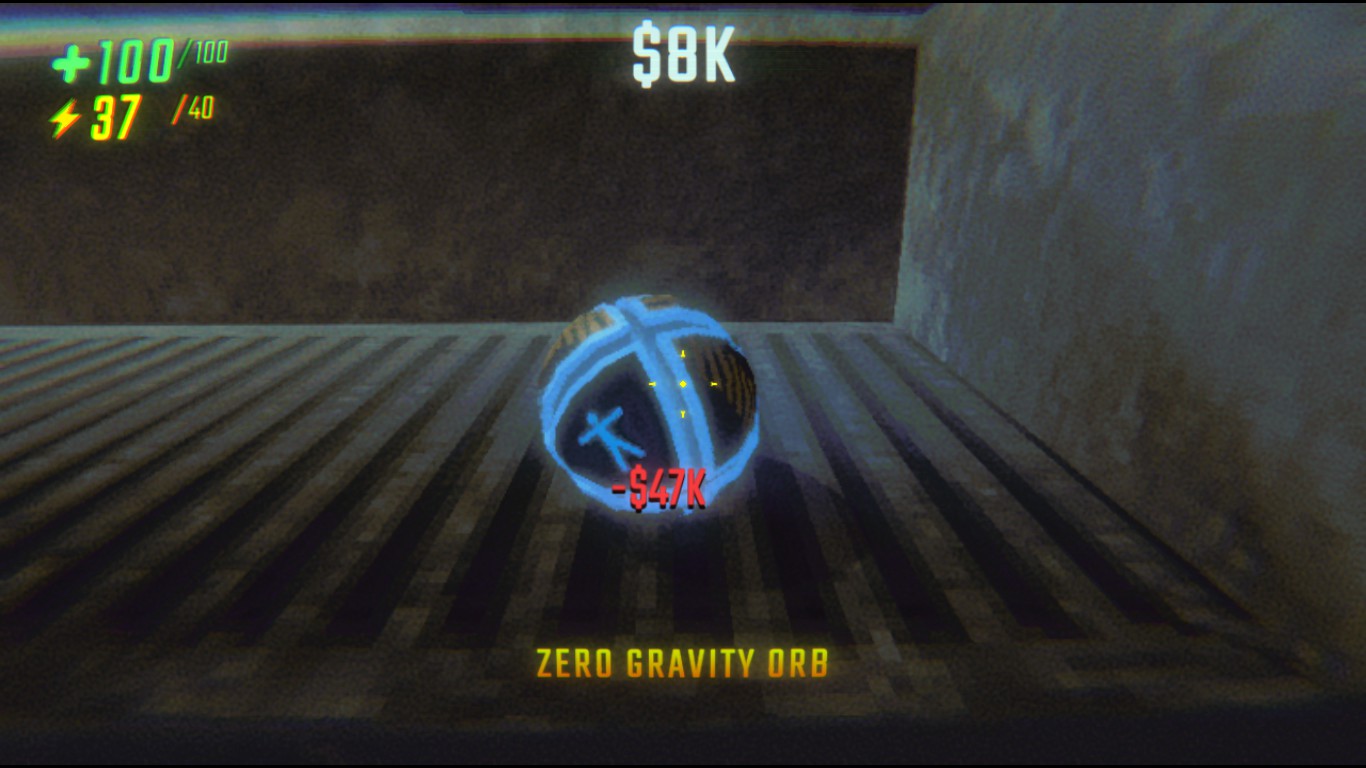
- Creates a low-gravity field that protects objects from fall damage. Perfect for dropping objects from high places without breaking them.
Roll drone
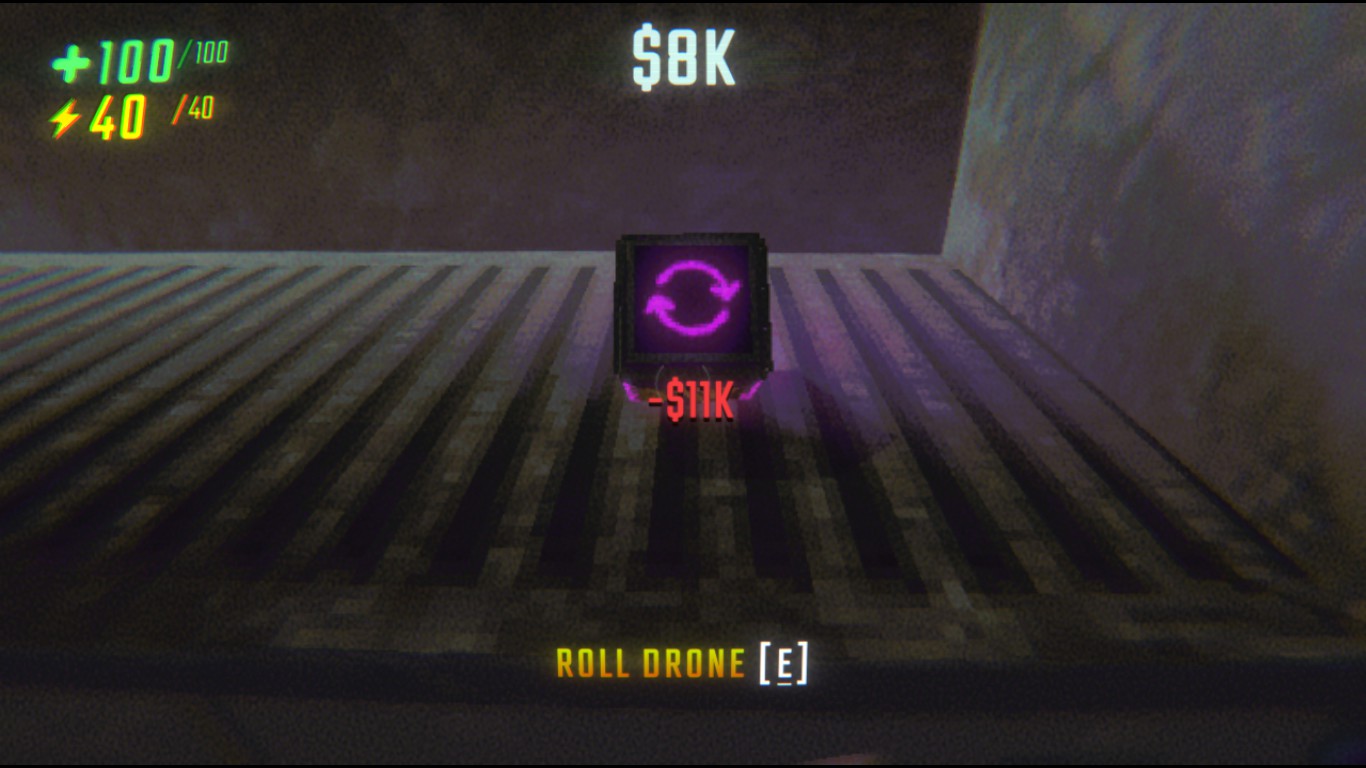
- Connects to players, allowing them to roll quickly in their smallest form.
- A bit tricky to control, but great for escaping from monsters (watch out for holes!).
Trackers
- For now, there are only two of these drones, but I wouldn't recommend spending money on them since their functions aren't very useful.
Valuable tracker
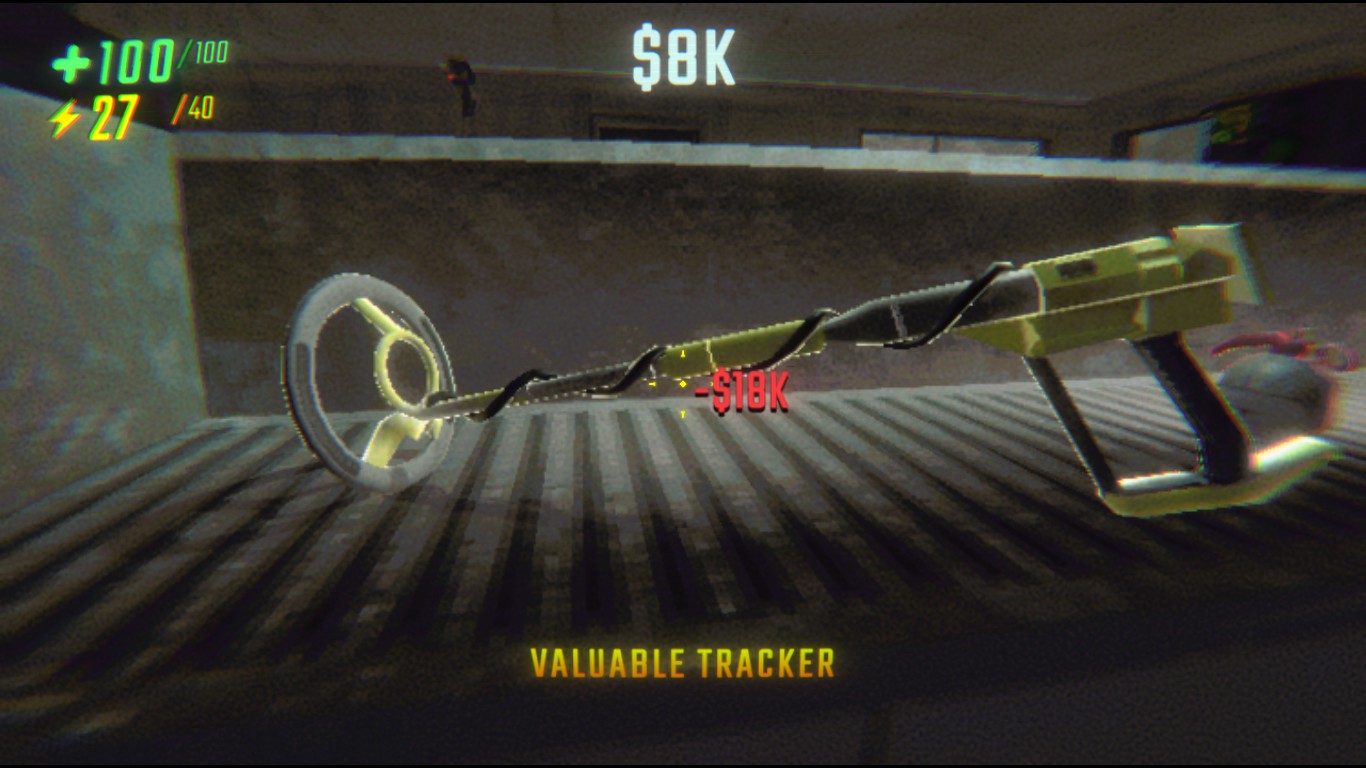
- As the name suggests, it detects sellable items on the map (not much else to explain).
Extaction tracker

- When activated, it will turn directly toward the nearest extraction point and display the remaining steps to reach it.
- Extractions emit an easily recognizable sound, so this drone isn't very useful.
Character Upgrades
- These upgrades will always be available in the store, but their prices may vary depending on how many you've already purchased. It's highly recommended to buy at least one upgrade each time you visit the store.
Stamina upgrade
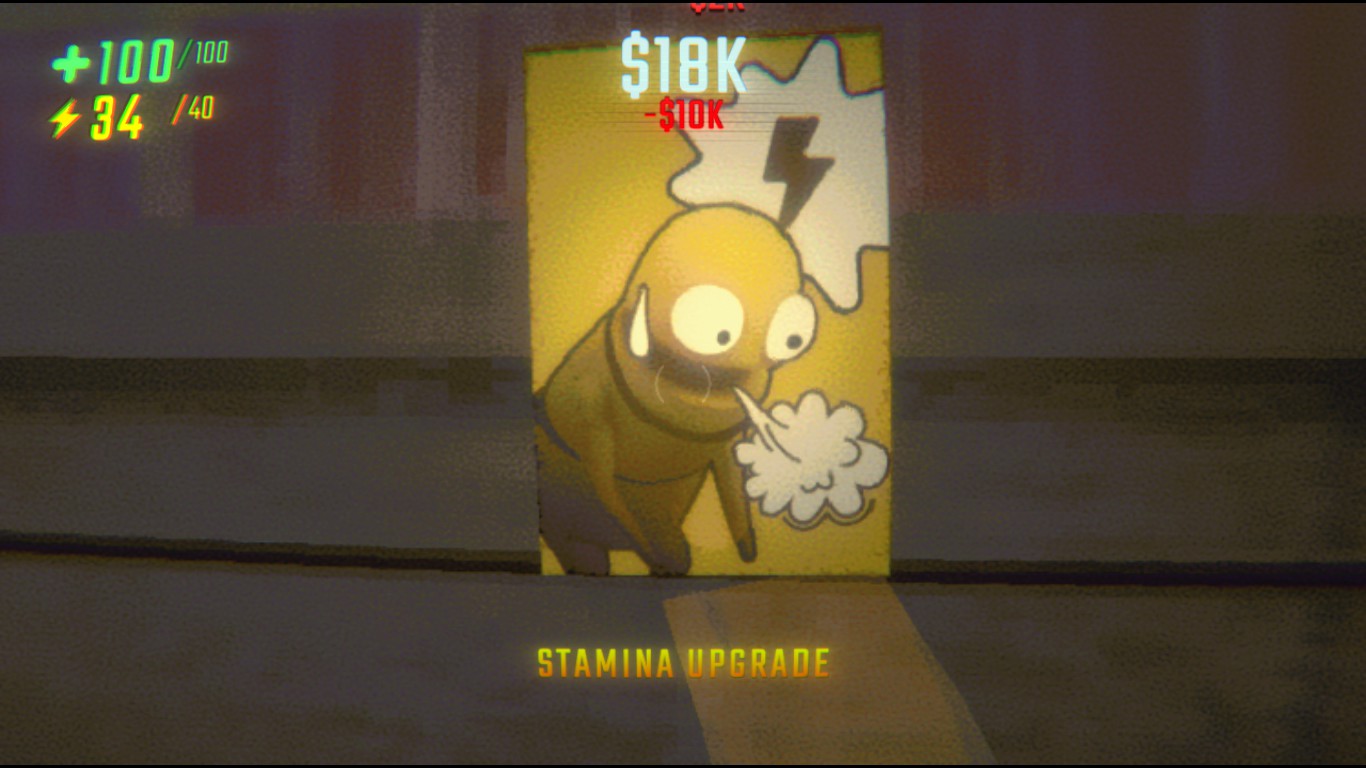
- Increases your stamina by 10 points (highly recommended when starting).
Sprint Speed upgrade
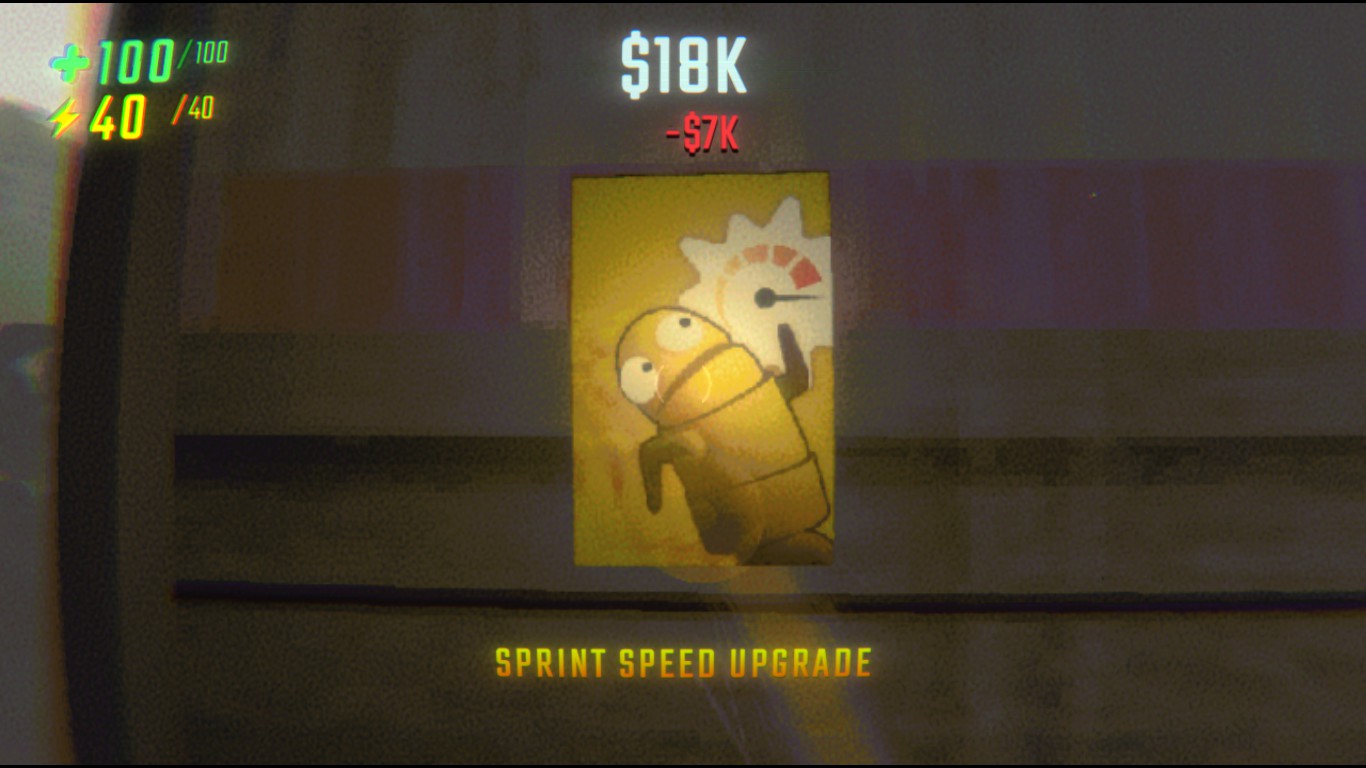
- Increases your movement speed.
- A fun fact: if you buy five of these, your character almost feels like they´re flying when jumping.
Health updrage

- Increases your maximum health by 20 points (highly recommended when starting).
Strength upgrade
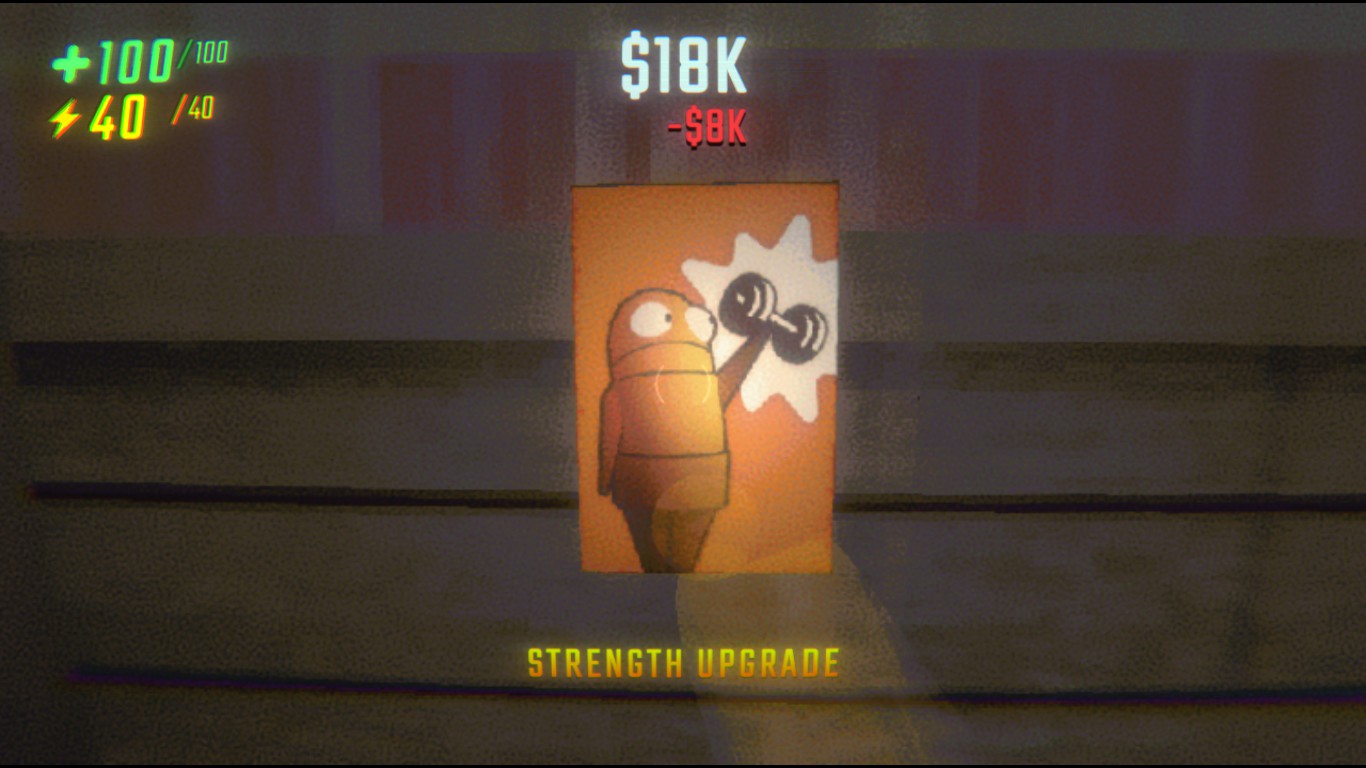
- Increases your strength. You'll need at least 3 strength points to lift heavy objects by yourself (e.g., Rugrat, vases, etc.).
Range upgrade
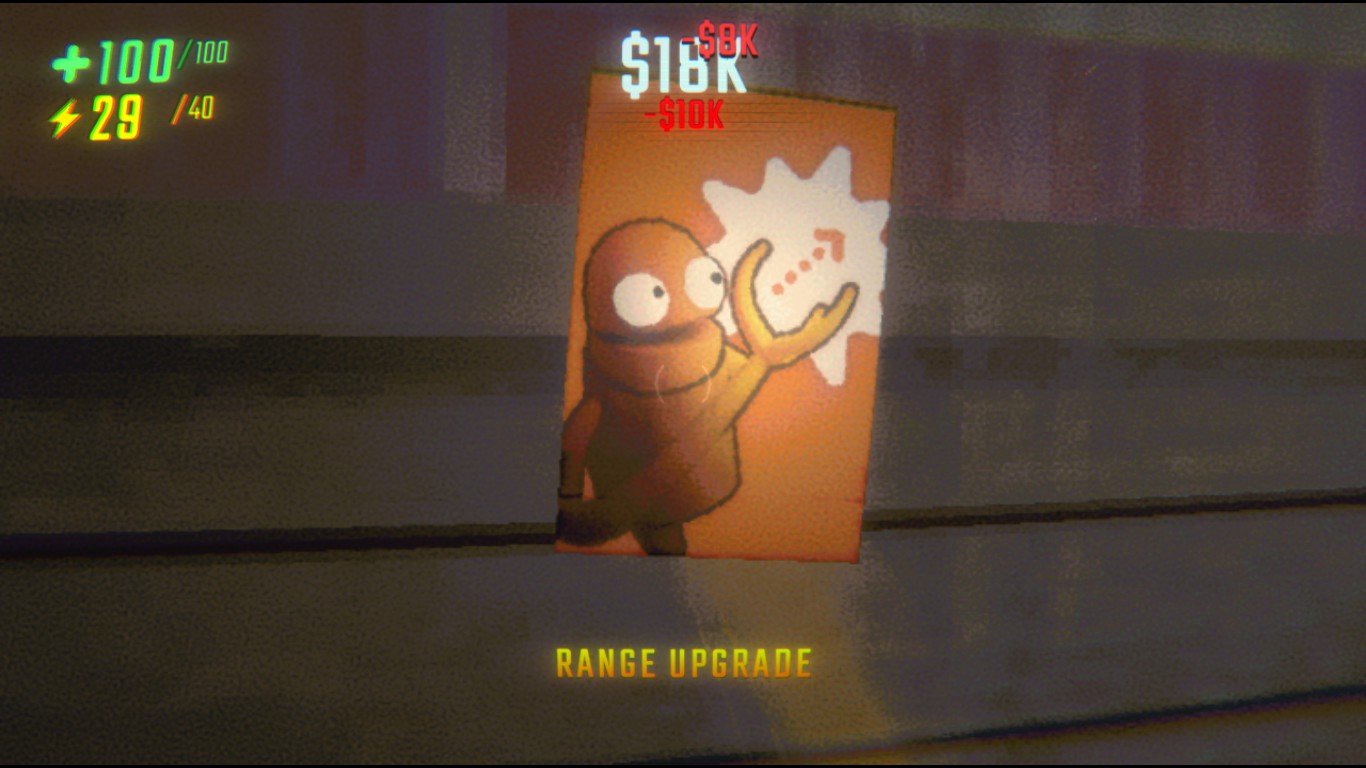
- Increases your grab range for objects; even a single upgrade makes a noticeable difference.
Extra jump upgrade
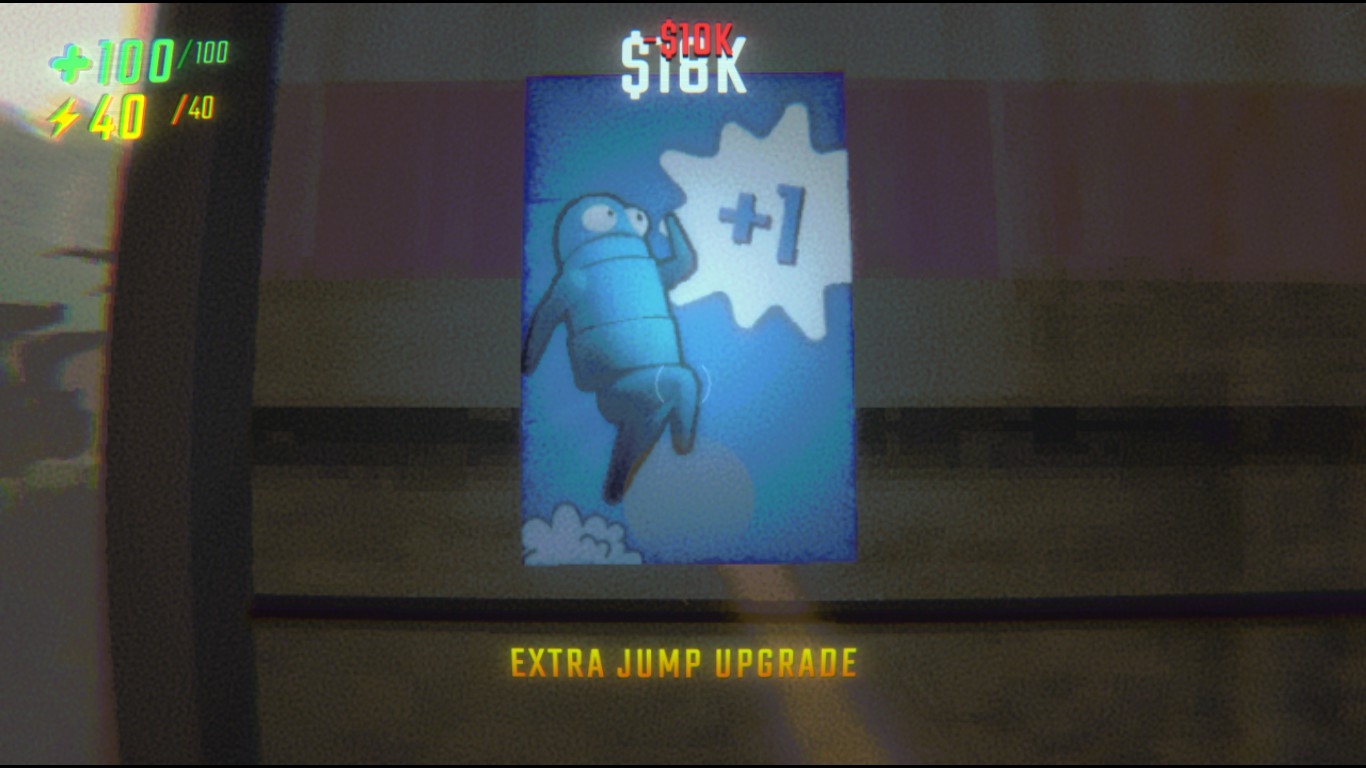
- Allows you to perform an extra jump (and that's it)
Tumble launch upgrade
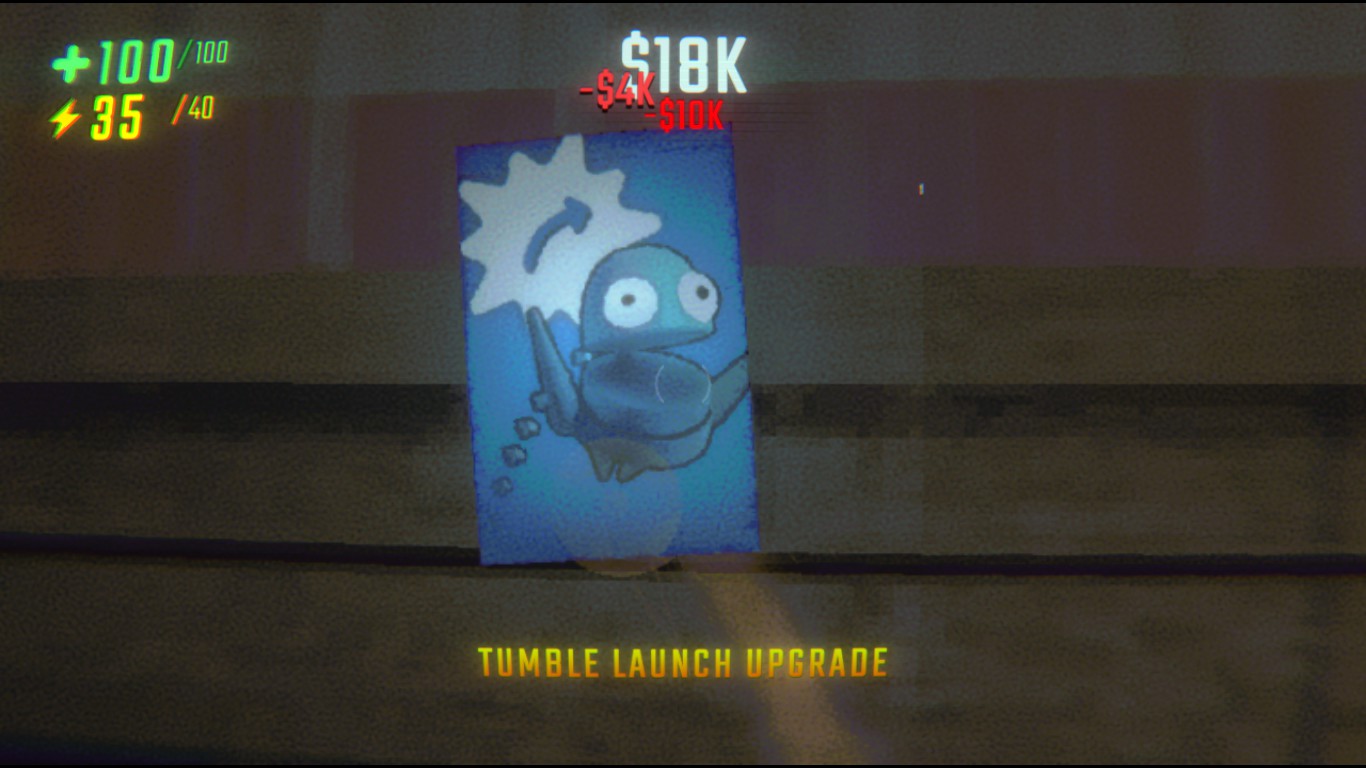
- Increases the distance you can throw objects using the "Q" key.
Max player count upgrade
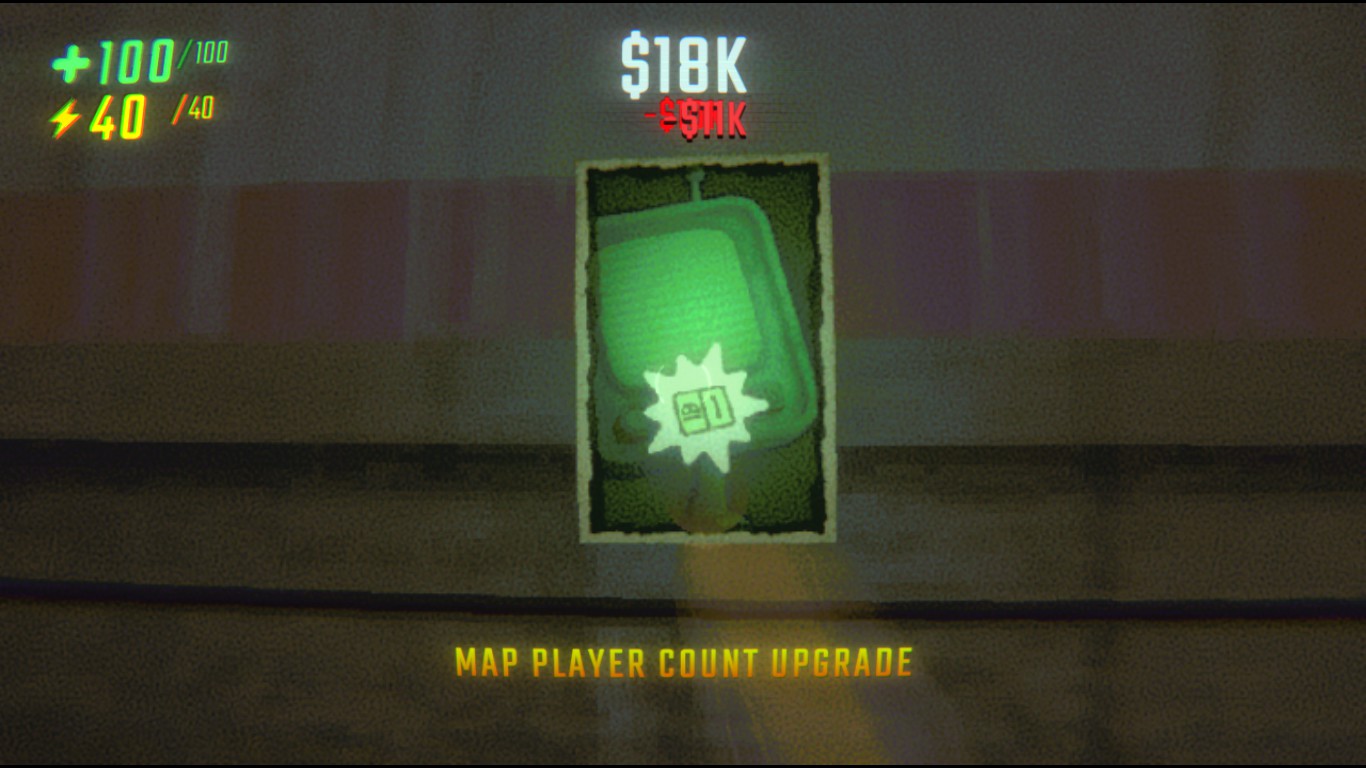
- Lets you see your teammates on the map. The more teammates you have, the more upgrades you'll need.
- For some reason, this upgrade is available in single-player mode.